
I have a collection of bakeware that rivals most HomeGoods stores. Not really, but I'm close. Packing to move (twice in four months!) made this painfully obvious. Over the years, I've accumulated quite the collection of both standard and specialty baking pans (and specialty baking ingredients, but that's another post). Even with a (slight) purge of my inventory when we moved, I still own SEVEN different sizes/shapes of tart pans. Among them, a set of teeny, tiny, 2.5-inch tart pans.
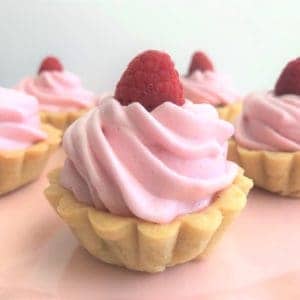
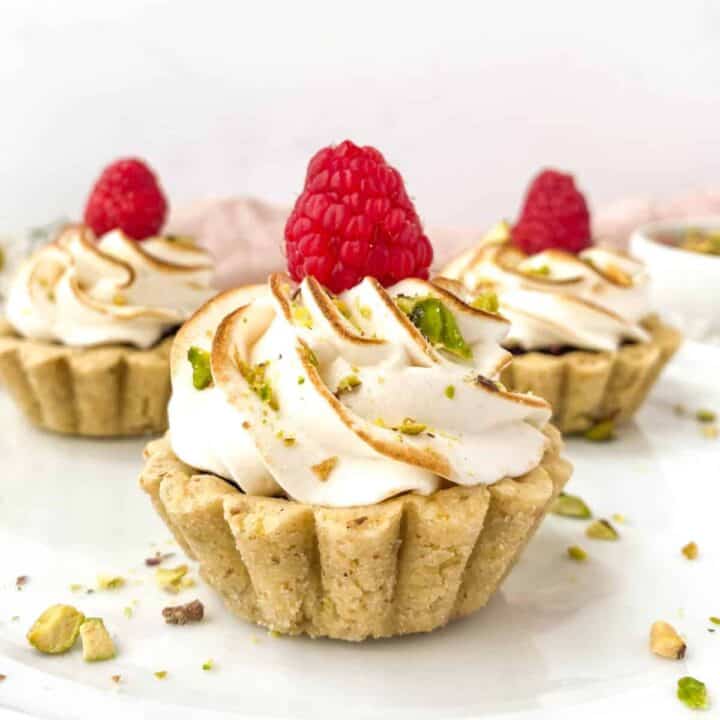
I made use of some of the smallest tart pans in my collection (like these [here]) to make these adorable baby Chocolate Cream Tartlets with Raspberry Meringue. They're so cute I can't stand it. I *love* mini desserts. Then again--what's not to love about a sweet pastry crust filled with dark chocolate custard and topped with raspberry meringue?
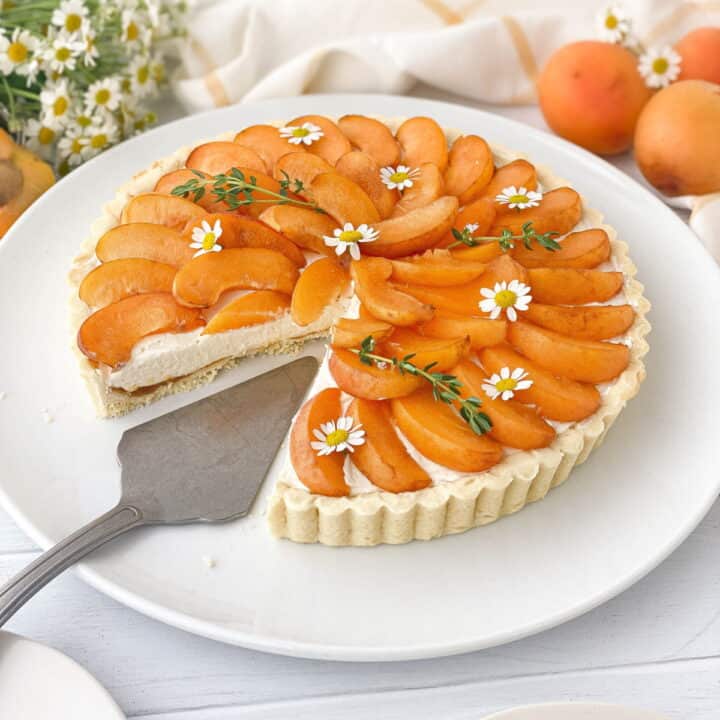
 I realize that not everyone has adorable tiny tart pans, nor do they want them. Spending the time it takes to make 24 tiny tartlets might not be appealing, either. You could easily make one 9" tart using this recipe if you prefer. Blind-baking the crust will take a few minutes longer, but other than that, preparation would be the same. Pie weights help when blind-baking a crust. You can buy actual pie weights if you'd like (like these [here]), but I just use black beans. They're cheap and you can use them over and over again.

Before placing the tart pans on cookies sheets, I lined the pans with silpats (like this one one [here]) to keep the pans from sliding around. I typically line the crust with parchment prior to adding the beans, but in this case, I decided to go with foil. The foil conforms to the shape of the tart shell a bit better, helping the beans to better fill the shell. With the small size of the tarts I made, you don't want to lose any space for filling! I will say that lining and weighting 24 teeny tarts takes dedication.

The chocolate custard has a deep, rich flavor thanks to the 72% dark chocolate that I used. You can use whatever chocolate you like, but the dark chocolate allows the custard to be extra chocolatey without being extra sweet. It's a nice balance to the super sweet meringue.
I highly recommend using the chocolate extract in the custard! This (sometimes overlooked) extract lends an amazing depth of flavor to chocolate baked goods! If you can't find it in your local grocery store, you can find some [here]. Even better, makes yourself some [Homemade Chocolate Extract] for next time!

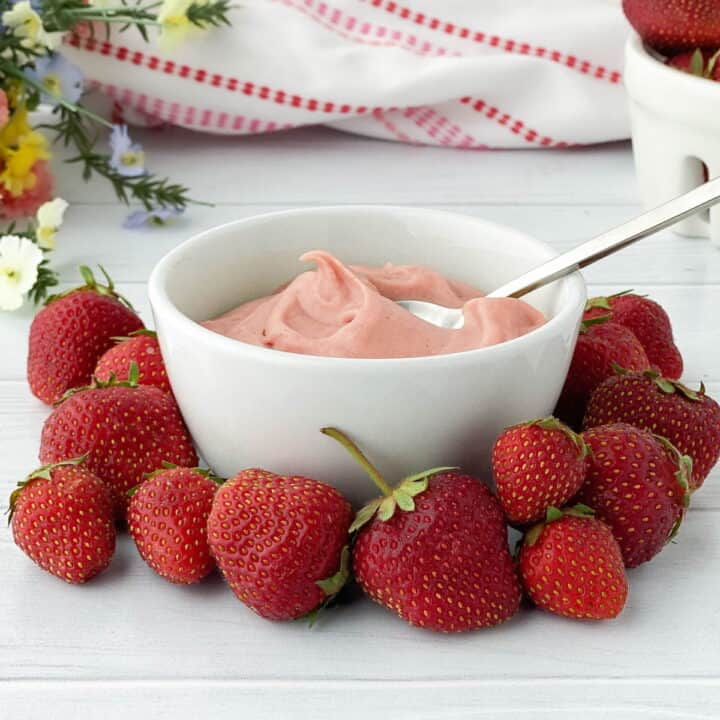
The meringue is light, with bright raspberry flavor and a pretty pink color. Watching the snow-white meringue transform as I added the red raspberry syrup made me smile. You can dress these tarts up with the meringue however you like. I used a 1M star tip to pipe the meringue, but you could choose another piping tip to decorate or just dollop it on top with a spoon like a pink sugar cloud. <3
**It's good to keep in mind that the egg whites in this meringue aren't cooked. I do this all the time at my house and I'm comfortable with it. If you'd rather not use the meringue (I definitely don't suggest it if you'll be serving it to sensitive individuals like young kids, someone who is pregnant, someone elderly, etc.), you may want to opt with topping these with whipped cream instead.**

These Chocolate Raspberry Tartlets are a real crowd-pleaser. Added bonus to making mini desserts: you can have more than one. They're mini! You *should* have more than one. Also, the more I make them, the more it justifies holding onto all the specialty pans in my collection. 😉
Other posts you may like:
Chocolate Salted Caramel Hazelnut Tartlets
Sweet tart dough recipe from Sarabeth's Bakery (link here). Chocolate cream recipe adapted from Baking From My Home to Yours (link here). Raspberry meringue recipe adapted from A Cookie Named Desire (link here).
Chocolate Raspberry Tartlets
Ingredients
Sweet Tart Dough:
- 12 tablespoon unsalted butter, softened (1 ½ sticks)
- 6 tablespoon sugar
- 1 egg
- 1 egg yolk
- ½ teaspoon vanilla extract
- 2 ¼ cups flour
Chocolate Cream:
- 3 ½ ounces bittersweet chocolate, melted
- 1 cup whole milk
- 2 egg yolks
- 3 tablespoon sugar
- 1 ½ tablespoon corn starch
- pinch salt
- 1 tablespoon unsatled butter, cut into 4 pieces
- 1 teaspoon chocolate extract (see note)
Raspberry Meringue (see note):
Topping:
- raspberries, fresh (optional)
Instructions
For Dough:
- Cream softened butter in the bowl of a stand mixer until smooth. Scrape down the sides of the bowl.
- Add sugar to the butter, mixing to combine. Then add egg, egg yolk, and vanilla extract. Mix to combine, scraping down the sides of the bowl to ensure all ingredients are incorporated.
- Add the flour to the butter mixture and mix until a soft dough forms.
- Scrape the dough from the bowl onto a lightly floured surface, lightly kneading the dough into a ball.
- Divide the dough in half, forming each half into a disk. Wrap each disk in plastic wrap and chill in the refrigerator 30 minutes.
- After chilling, working with one disk at a time, roll dough to ⅛" thickness. Line tart pans (see note) with the dough. Prick the bottom of the dough in each pan with a fork. Place tartlets on a cookie sheet lined with a silpat (to keep pans from sliding around). Freeze 15 minutes.
- Preheat oven to 350F. After freezing, place each of the tartlet pans on a sheet pan. Line each tartlet with foil and fill with pie weights (see note). Bake tart shells 15 minutes. Remove weights and parchment paper. Return tart shells to the oven and bake for an additional 5-10 minutes, or until golden. Cool tart shells completely on wire rack.
For Cream:
- Melt chocolate in a small heatproof bowl on 30-second bursts in the microwave, stirring after each burst. Set aside.
- Bring milk to a boil in a small saucepan.
- In a medium saucepan, whisk egg yolks, sugar, cornstarch, and salt until combined. The mixture will be thick.
- While whisking continuously, slowly pour about ¼ c of the hot milk to temper the eggs. Once mixed, add the remaining milk in a steady stream, whisking continuously.
- Place pan on medium heat. Bring mixture to a boil, continuing to whisk constantly. Boil for about one minute, then remove pan from the heat.
- Add melted chocolate and whisk to combine. Add pieces of butter, whisking until they fully incorporate. Strain mixture into a medium bowl. Add chocolate extract and stir to combine.
- Cover the cream with plastic wrap, pressing the wrap directly to the surface of the cream to avoid it forming a skin. Chill completely.
For Meringue:
- In a small saucepan, heat berries and ¼ cup sugar over medium heat. Allow berries to simmer until they begin to break down and juice is thickened, about two minutes.
- Strain seeds from syrup. Discard seeds and set syrup aside.
- In the bowl of a stand mixer, use the whisk attachment to beat the egg whites on low until frothy. Add cream of tartar and remaining one tablespoon sugar. Beat on medium-high speed until stiff peaks form.
- With mixer running on low speed, add raspberry syrup in a slow, steady stream. Increase speed to medium-high, beating mixture until it is glossy and holds stiff peaks.
Assembly:
- Fill each cooled tart shell with chocolate cream. Top cream with raspberry meringue and fresh berries, if desired.Enjoy!
Notes
Nutrition information is provided as a courtesy and is only an estimate.
Comments
No Comments