
It is rainy and chilly in Texas, and I'm a little in love with it. Sweater: check. Cozy socks: check. Warm mug of coffee: check, check. 😀 I like sunshine as much as the next person, but this cloudy, wet, cold weather does good things for my soul in the Fall. Super smooth segue: This Apple Maple Custard Tart is also soul satisfying. 😉
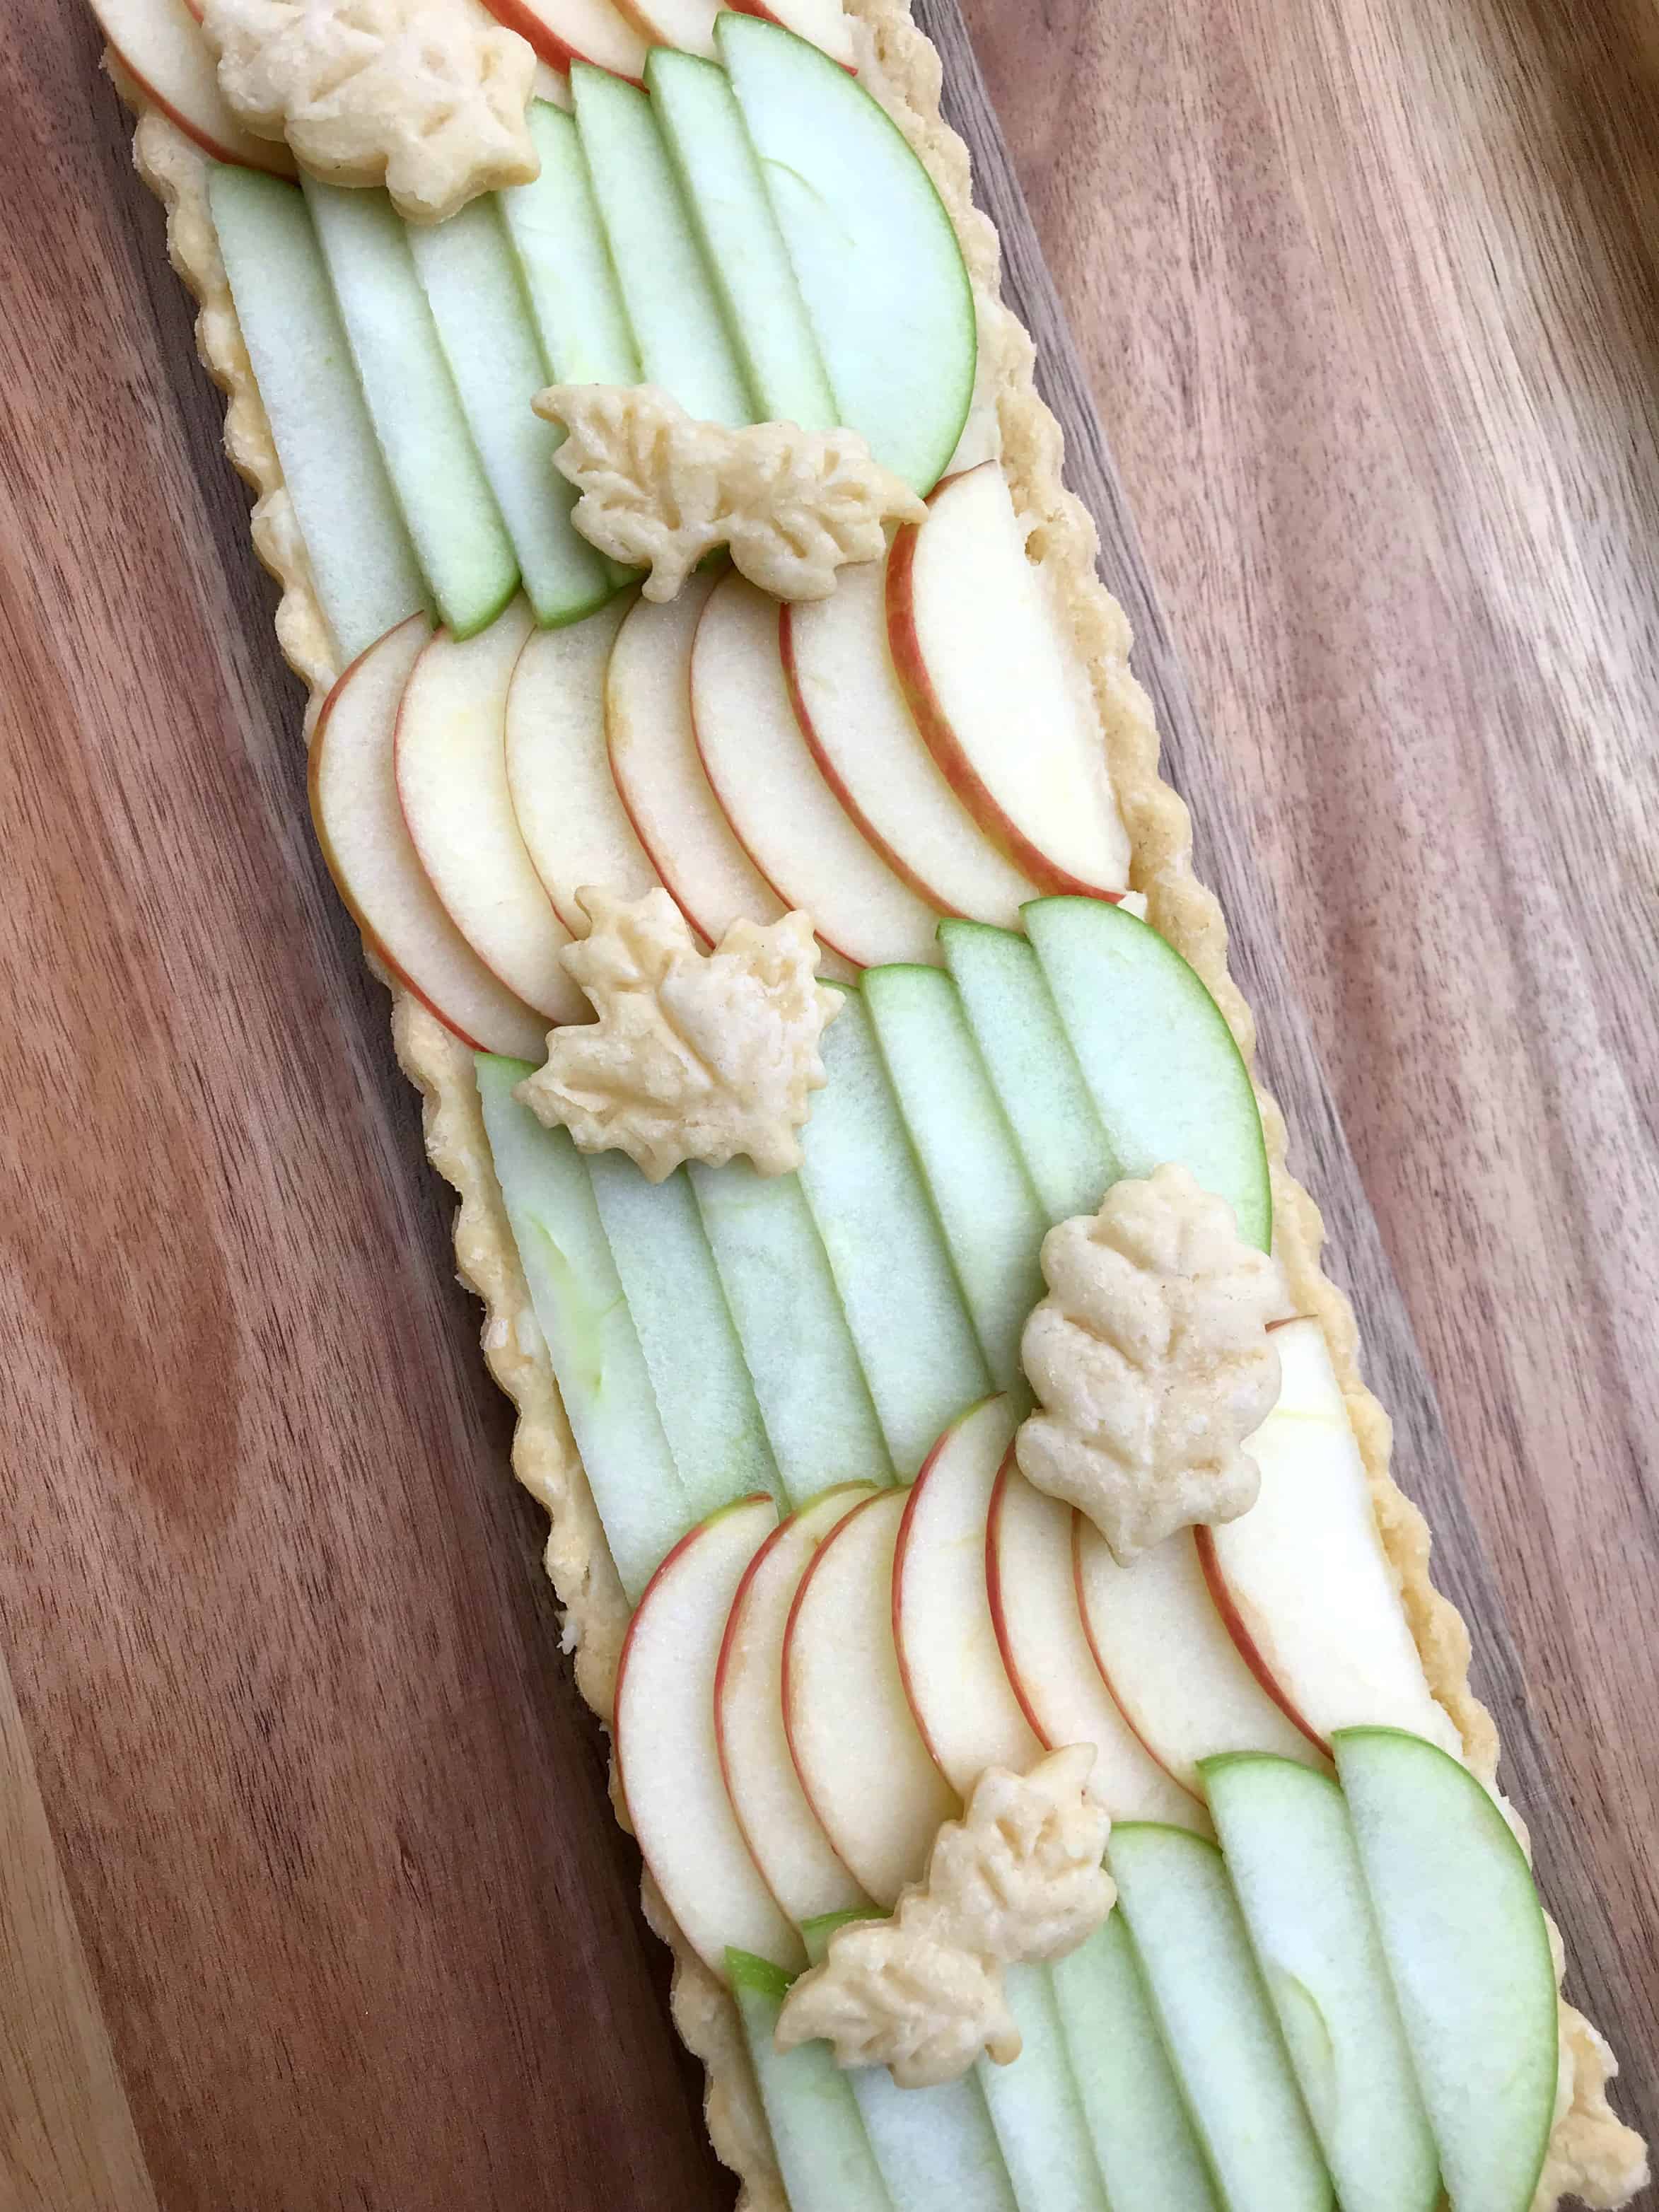
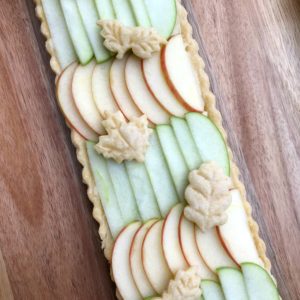
This tart is a classic pastry shell filled with maple custard and topped with thinly-sliced apples. The custard is truly something unexpected, and sooo good! Any maple syrup will make for awesome custard, but if you go with a Grade B syrup, you'll have better flavor. Although it sounds like Grade B isn't as good as Grade A, the grades for maple syrup refer to how dark they are. Grade B is the darkest and has the most intense flavor, making it the best for baking.
I really wanted to pair fresh apples with this custard (apple and maple!!). However, I was concerned about the fresh apples browning and looking unappetizing. I took to the internet to find a method other than lemon juice, which in my experience doesn't work that well.
Turns out after a quick soak in a saltwater bath (just 10 minutes!), you drain and rinse the apples and ta-daaaa! The rinsing of the apples keeps them from having a salty flavor, and IT WORKS. We had leftovers the next day and, even 24 hours later, the apples were still gorgeous! (Thank you Serious Eats!)
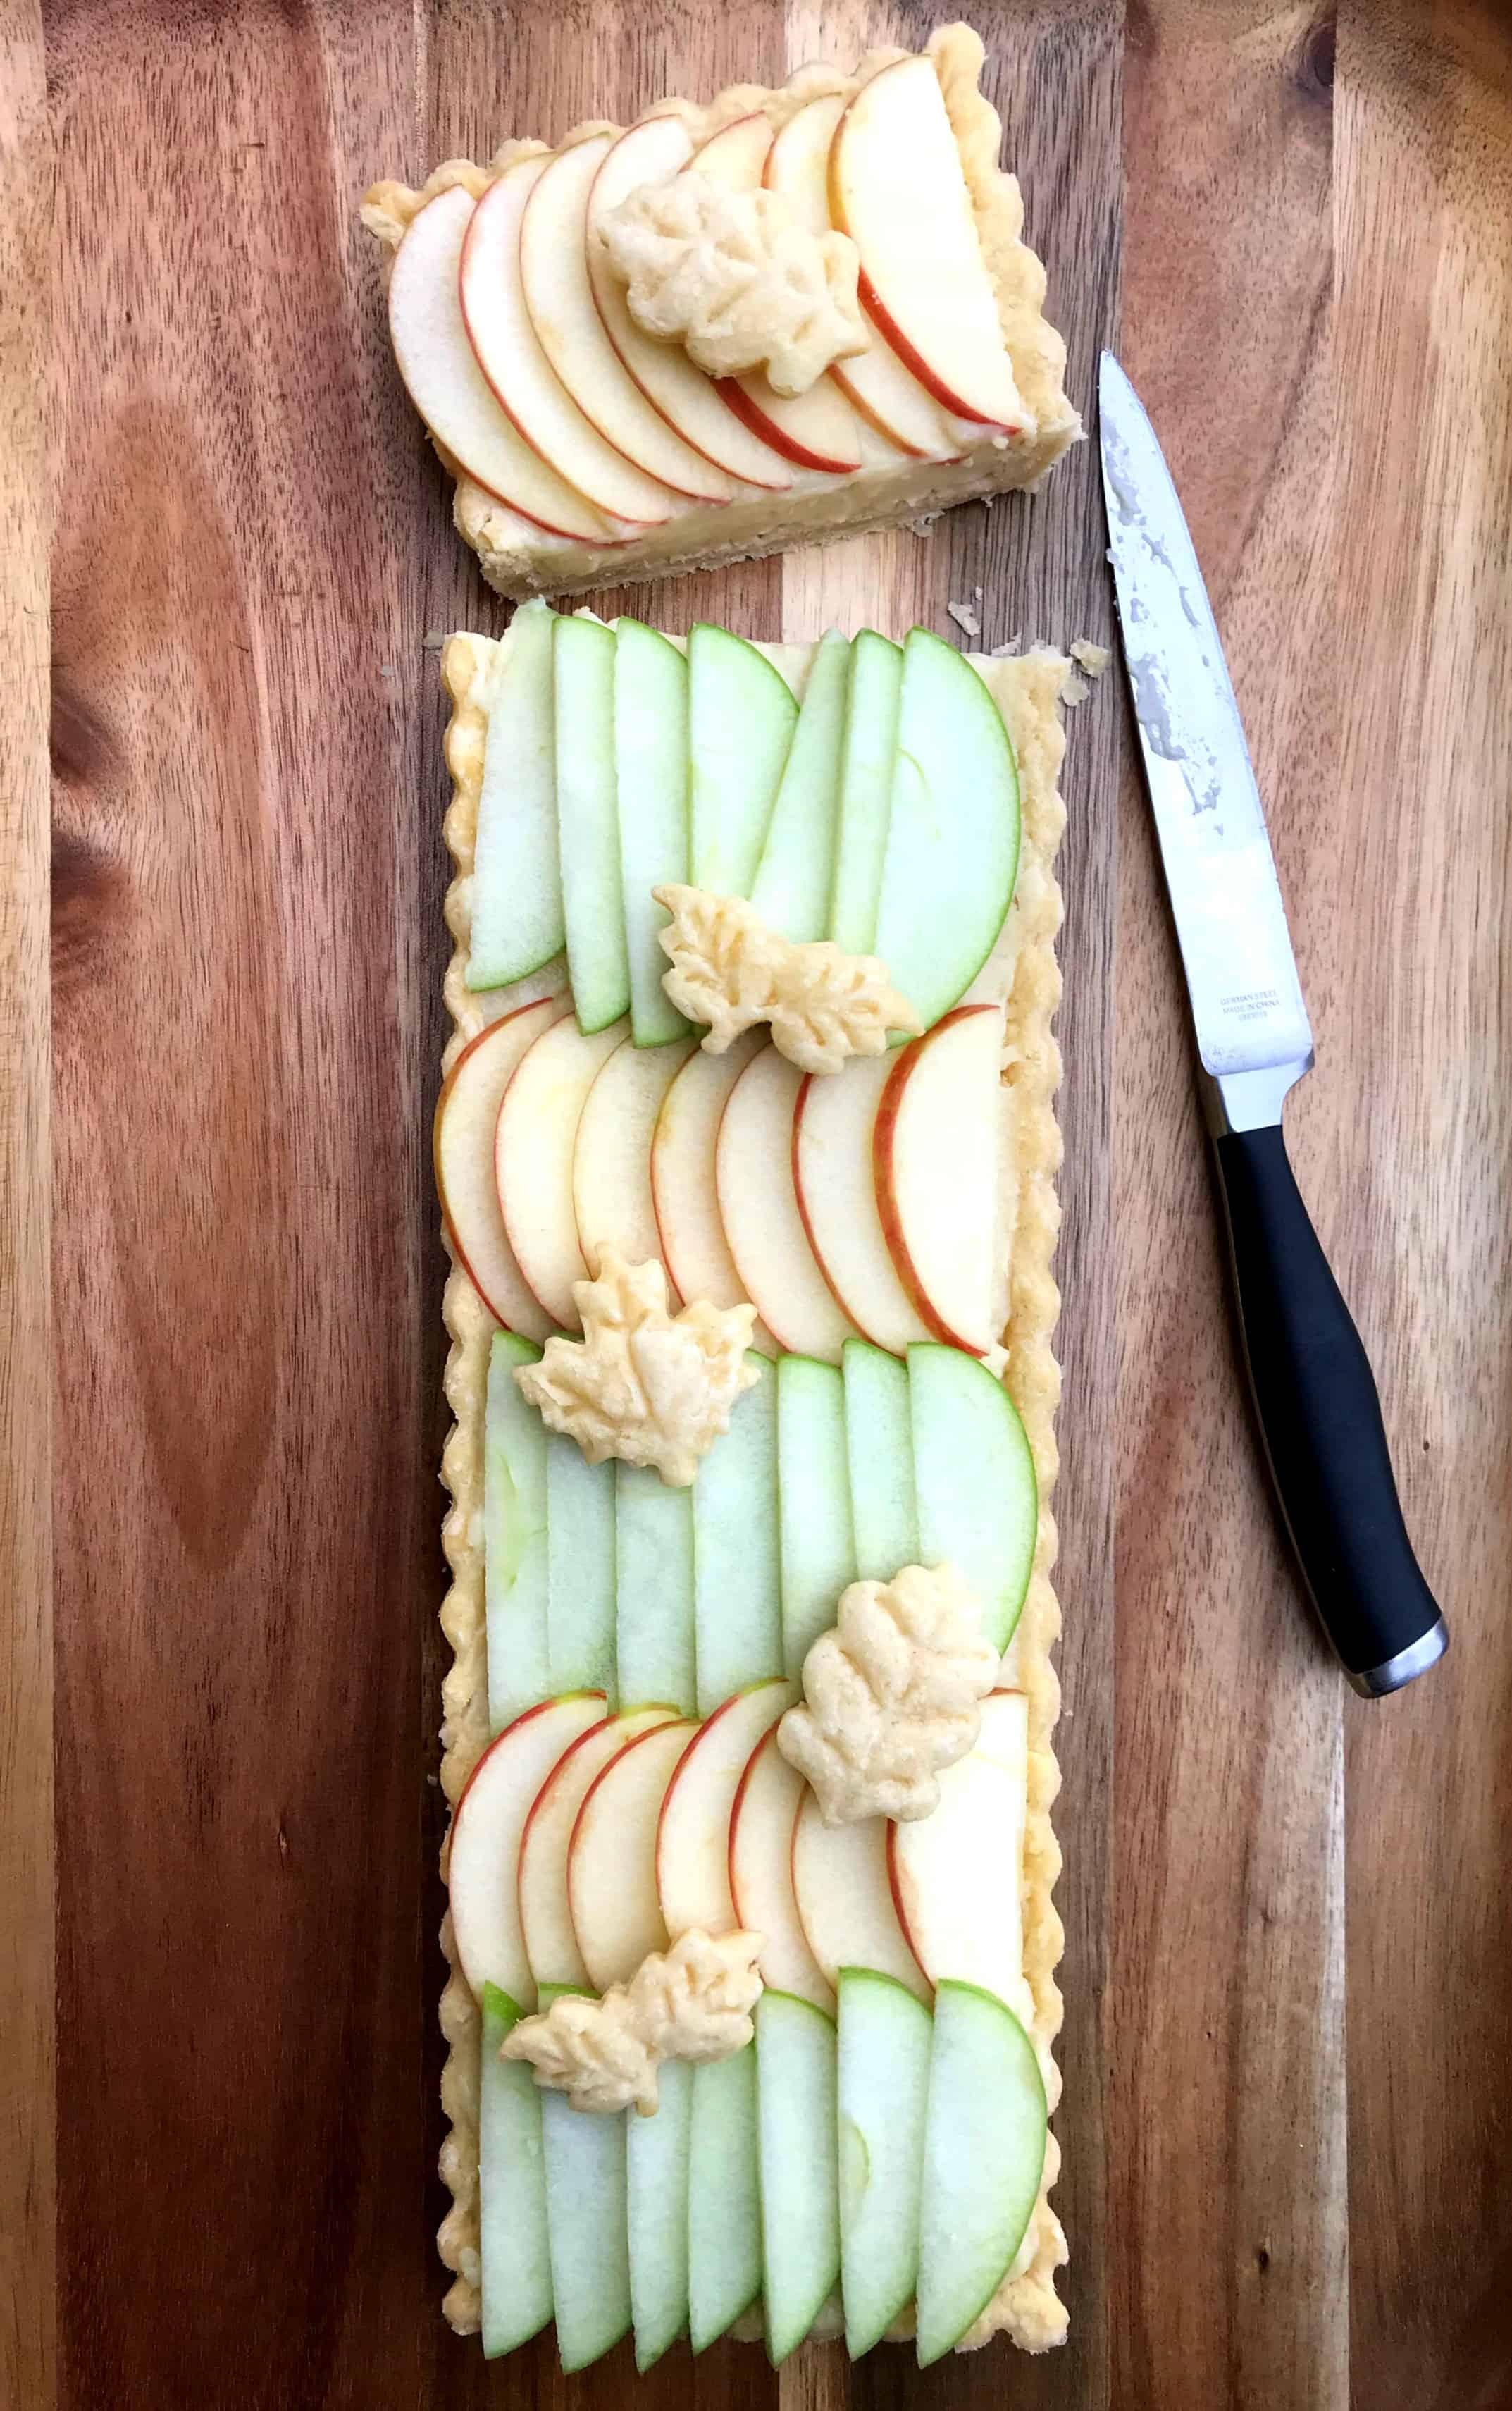
I used a 4"x14" rectangular pan from my (ridiculously extensive) bakeware collection (like this one [here]). The recipe can also be made into a 9" round tart without any alterations to the recipe.
Pie weights help when blind-baking the crust, helping to keep the dough from rising/getting bubbles as it bakes. This makes sure that you have the room that you need for filling. You can buy actual pie weights if you'd like (like these [here]), but I just use black beans. They're cheap and you can use them over and over again.
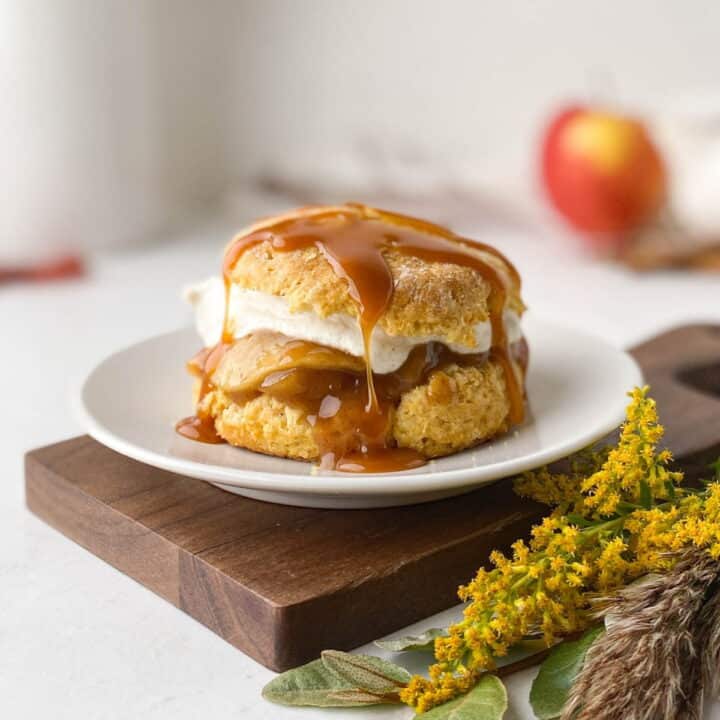
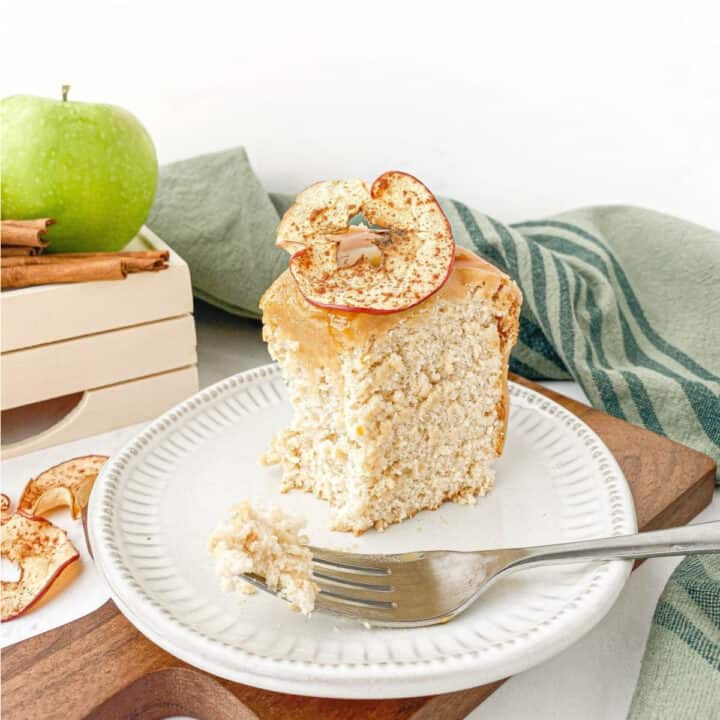
Other Recipes You May Like

Custard Recipe from Baking a Moment (link here).
Apple Maple Custard Tart
Ingredients
Maple Custard:
- 1 ½ cups milk
- 6 egg yolks
- ½ cup maple syrup
- ¼ cup cornstarch
- ¼ teaspoon salt
- 1 teaspoon vanilla extract
Crust:
- 1 ½ cups flour
- 10 tablespoon vegetable shortening, cold and diced (½ cup + 2 Tbsp)
- 1 egg, beaten
- 1 tablespoon white vinegar
- 3 tablespoon water, cold
Topping:
- 2 apples, thinly sliced (any variety)
- 2 teaspoon salt
- 4 cups water
Instructions
For Custard:
- In a medium saucepan, heat milk over medium heat until hot but not boiling. You will see small bubbles start to form around the edge of the pan.
- In a medium heatproof bowl, combine egg yolks, maple syrup, cornstarch, and salt. Whisk to combine.
- Once the milk is hot, slowly pour into egg mixture while whisking constantly. This will temper the eggs and keep them from curdling.
- Pour the mixture back into the saucepan. Cook over medium heat, stirring constantly, until very thick.
- Remove from the heat. Add vanilla extract and stir to incorporate. Strain custard through a fine-mesh sieve into another heatproof bowl.
- Cover with plastic, pressing it to the surface of the custard to prevent it from forming a skin. Refrigerate at least 2 hours.
For Crust:
- In a medium bowl, combine flour and cold, diced vegetable shortening. Using a pastry blender (see note) or fork, cut shortening in until no large pieces remain.
- In a small bowl, combine egg, vinegar, and cold water. Whisk to combine.
- Make wells in the flour mixture, and pour the egg mixture into the wells. Stir until a soft dough is formed. Turn dough out onto a lightly floured surface and knead slightly into a ball.
- Roll dough to fit the bottom of the tart pan, ensuring that you don't stretch the dough (as this will cause it to shrink when baked). Prick the bottom of the dough all over with a fork.
- Preheat the oven to 375F. Line the tart shell with foil, then fill with pie weights (see note). Place tart pan on a baking sheet and bake 10 minutes. Remove foil and pie weights, and return to the oven to bake an additional 10 minutes, or until the crust appears dry and is barely golden. Allow crust to cool completely on a wire rack before removing from pan.
- If desired, roll out the excess dough and cut out shapes that will go on top of the tart. Bake 3-5 minutes, depending on the size of the shapes.
For Apples:
- To keep the apples from browning, soak them in saltwater for 10 minutes. After 10 minutes, drain and rinse the apples. Allow the apples to dry a bit before using them.
Assembly:
- Remove cooled crust from pan. Fill with chilled maple custard. Top with apples (and crust shapes, if desired).Enjoy!
Notes
Nutrition information is provided as a courtesy and is only an estimate.


Comments
No Comments