
Today I join the rest of the world in bombarding you with peppermint everything for the holidays. In accordance with my 'more is more' mentality: Peppermint Brownie Cheesecake!
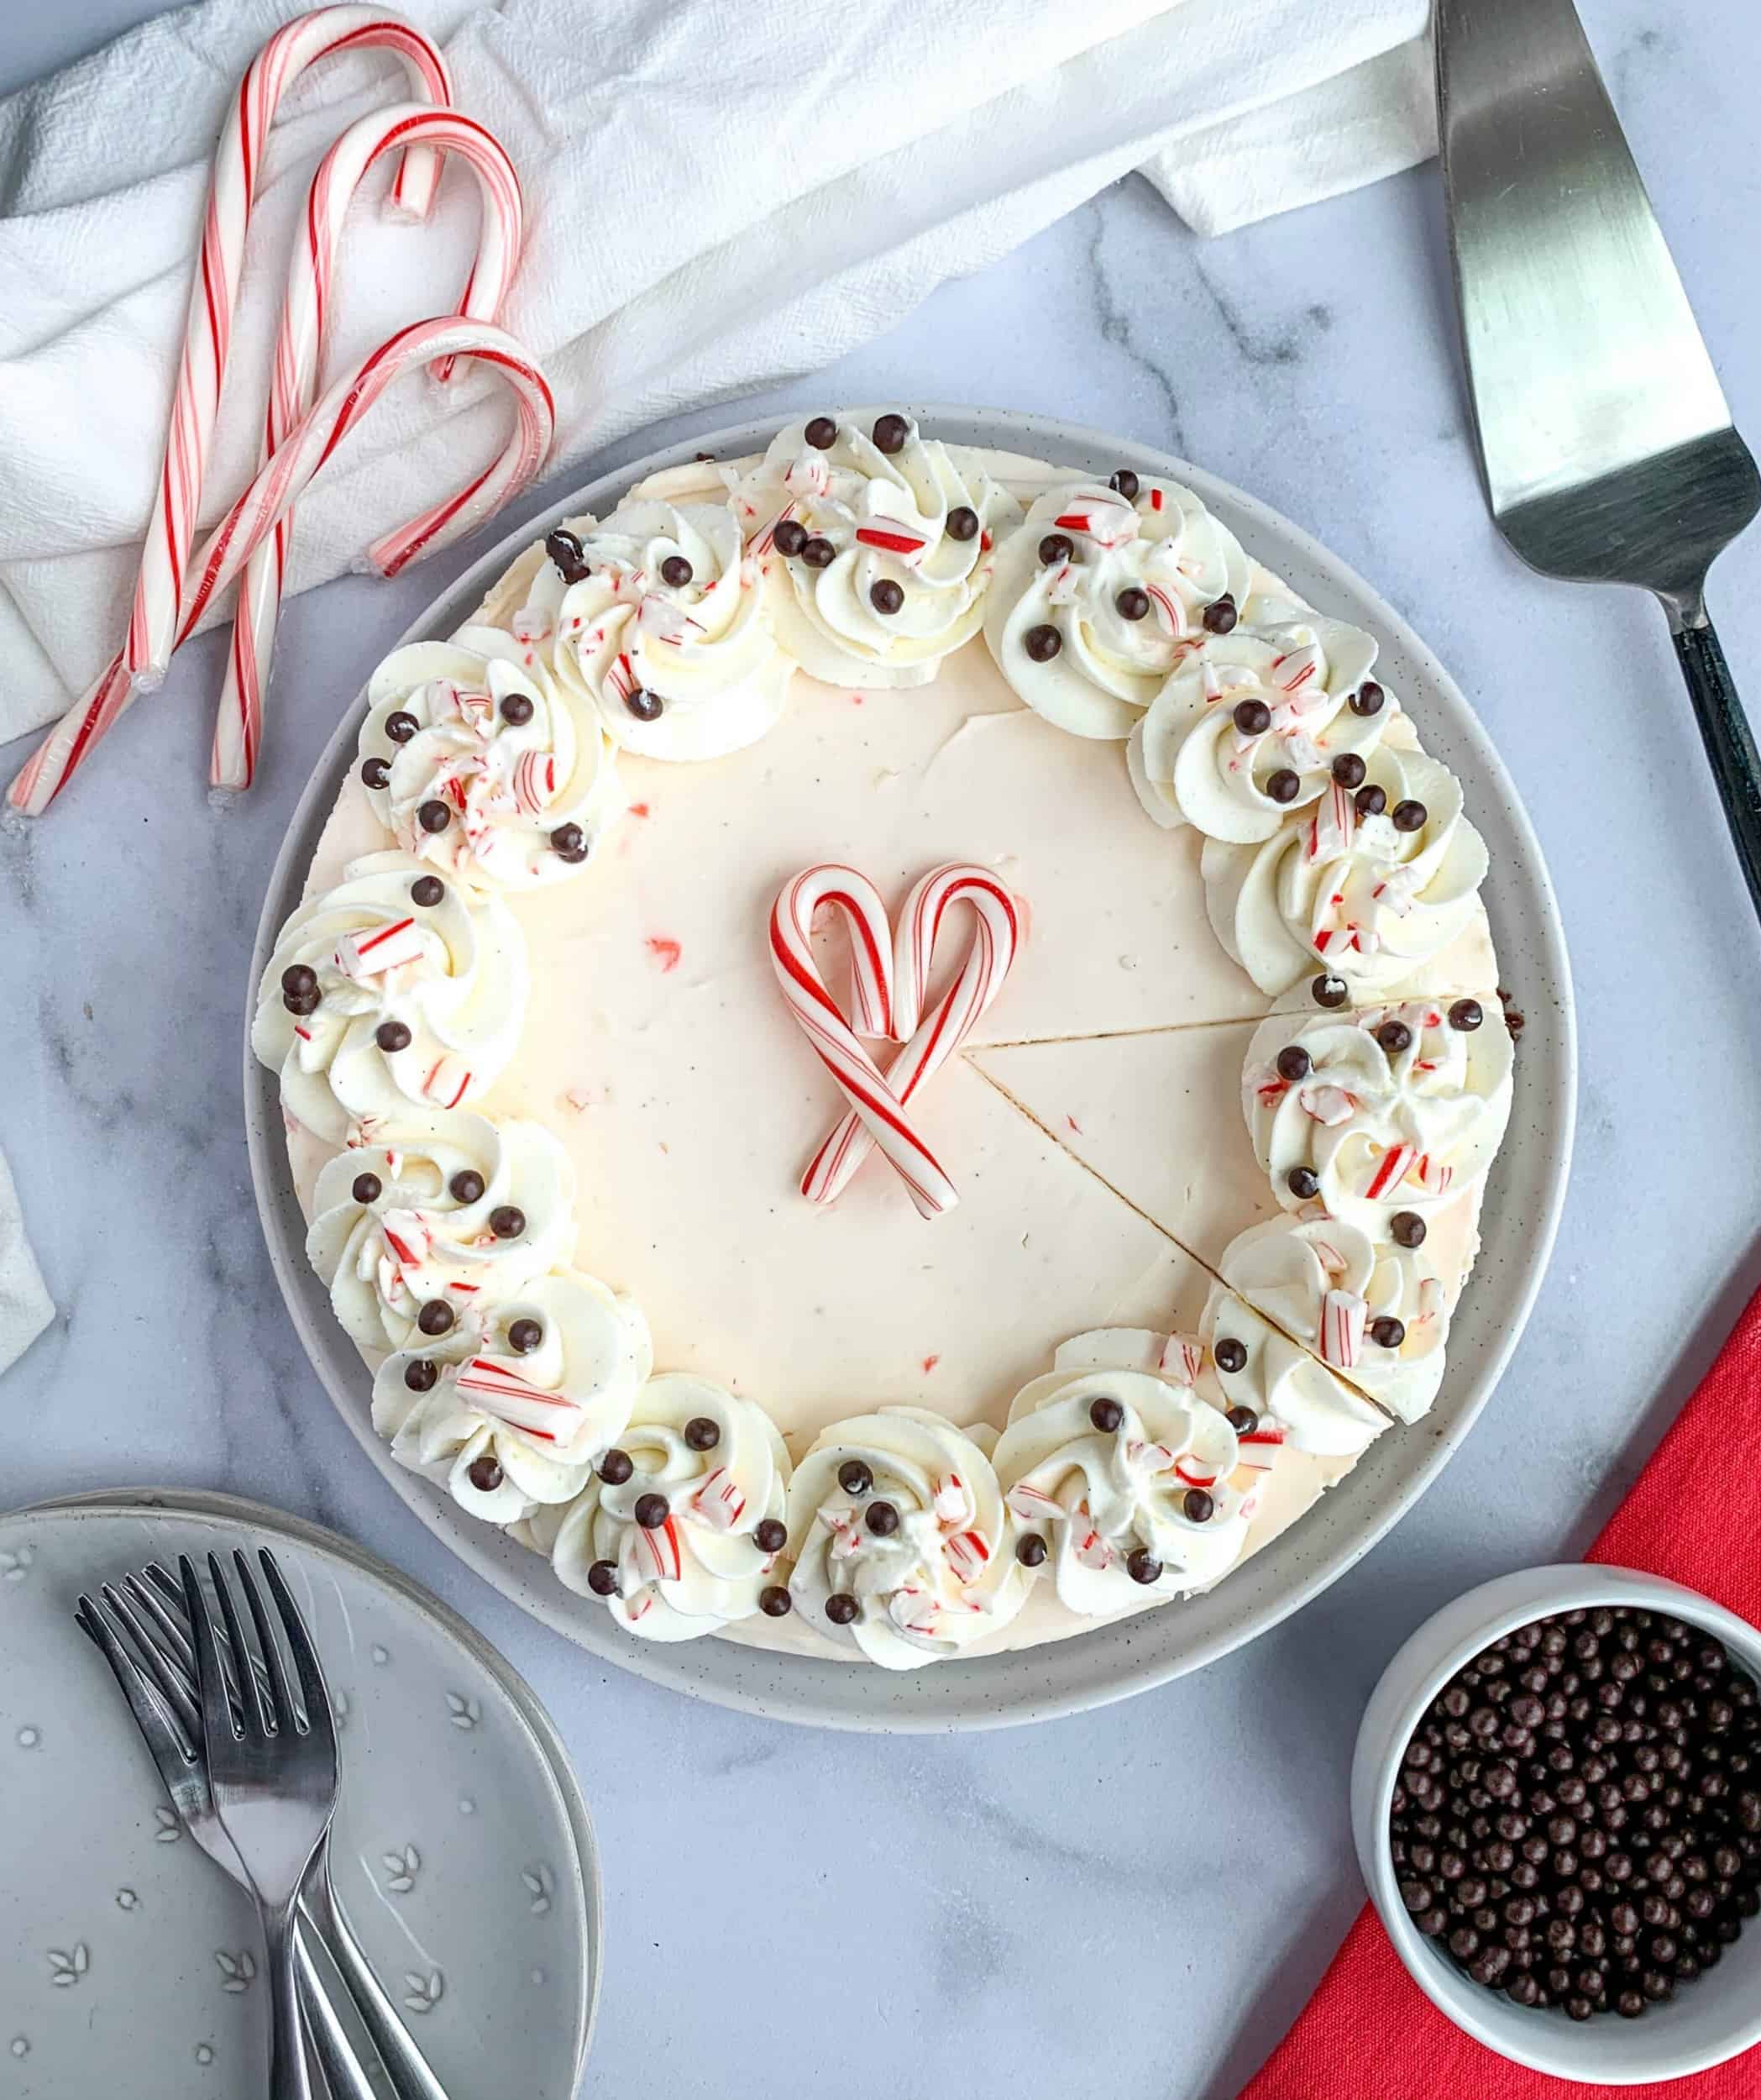
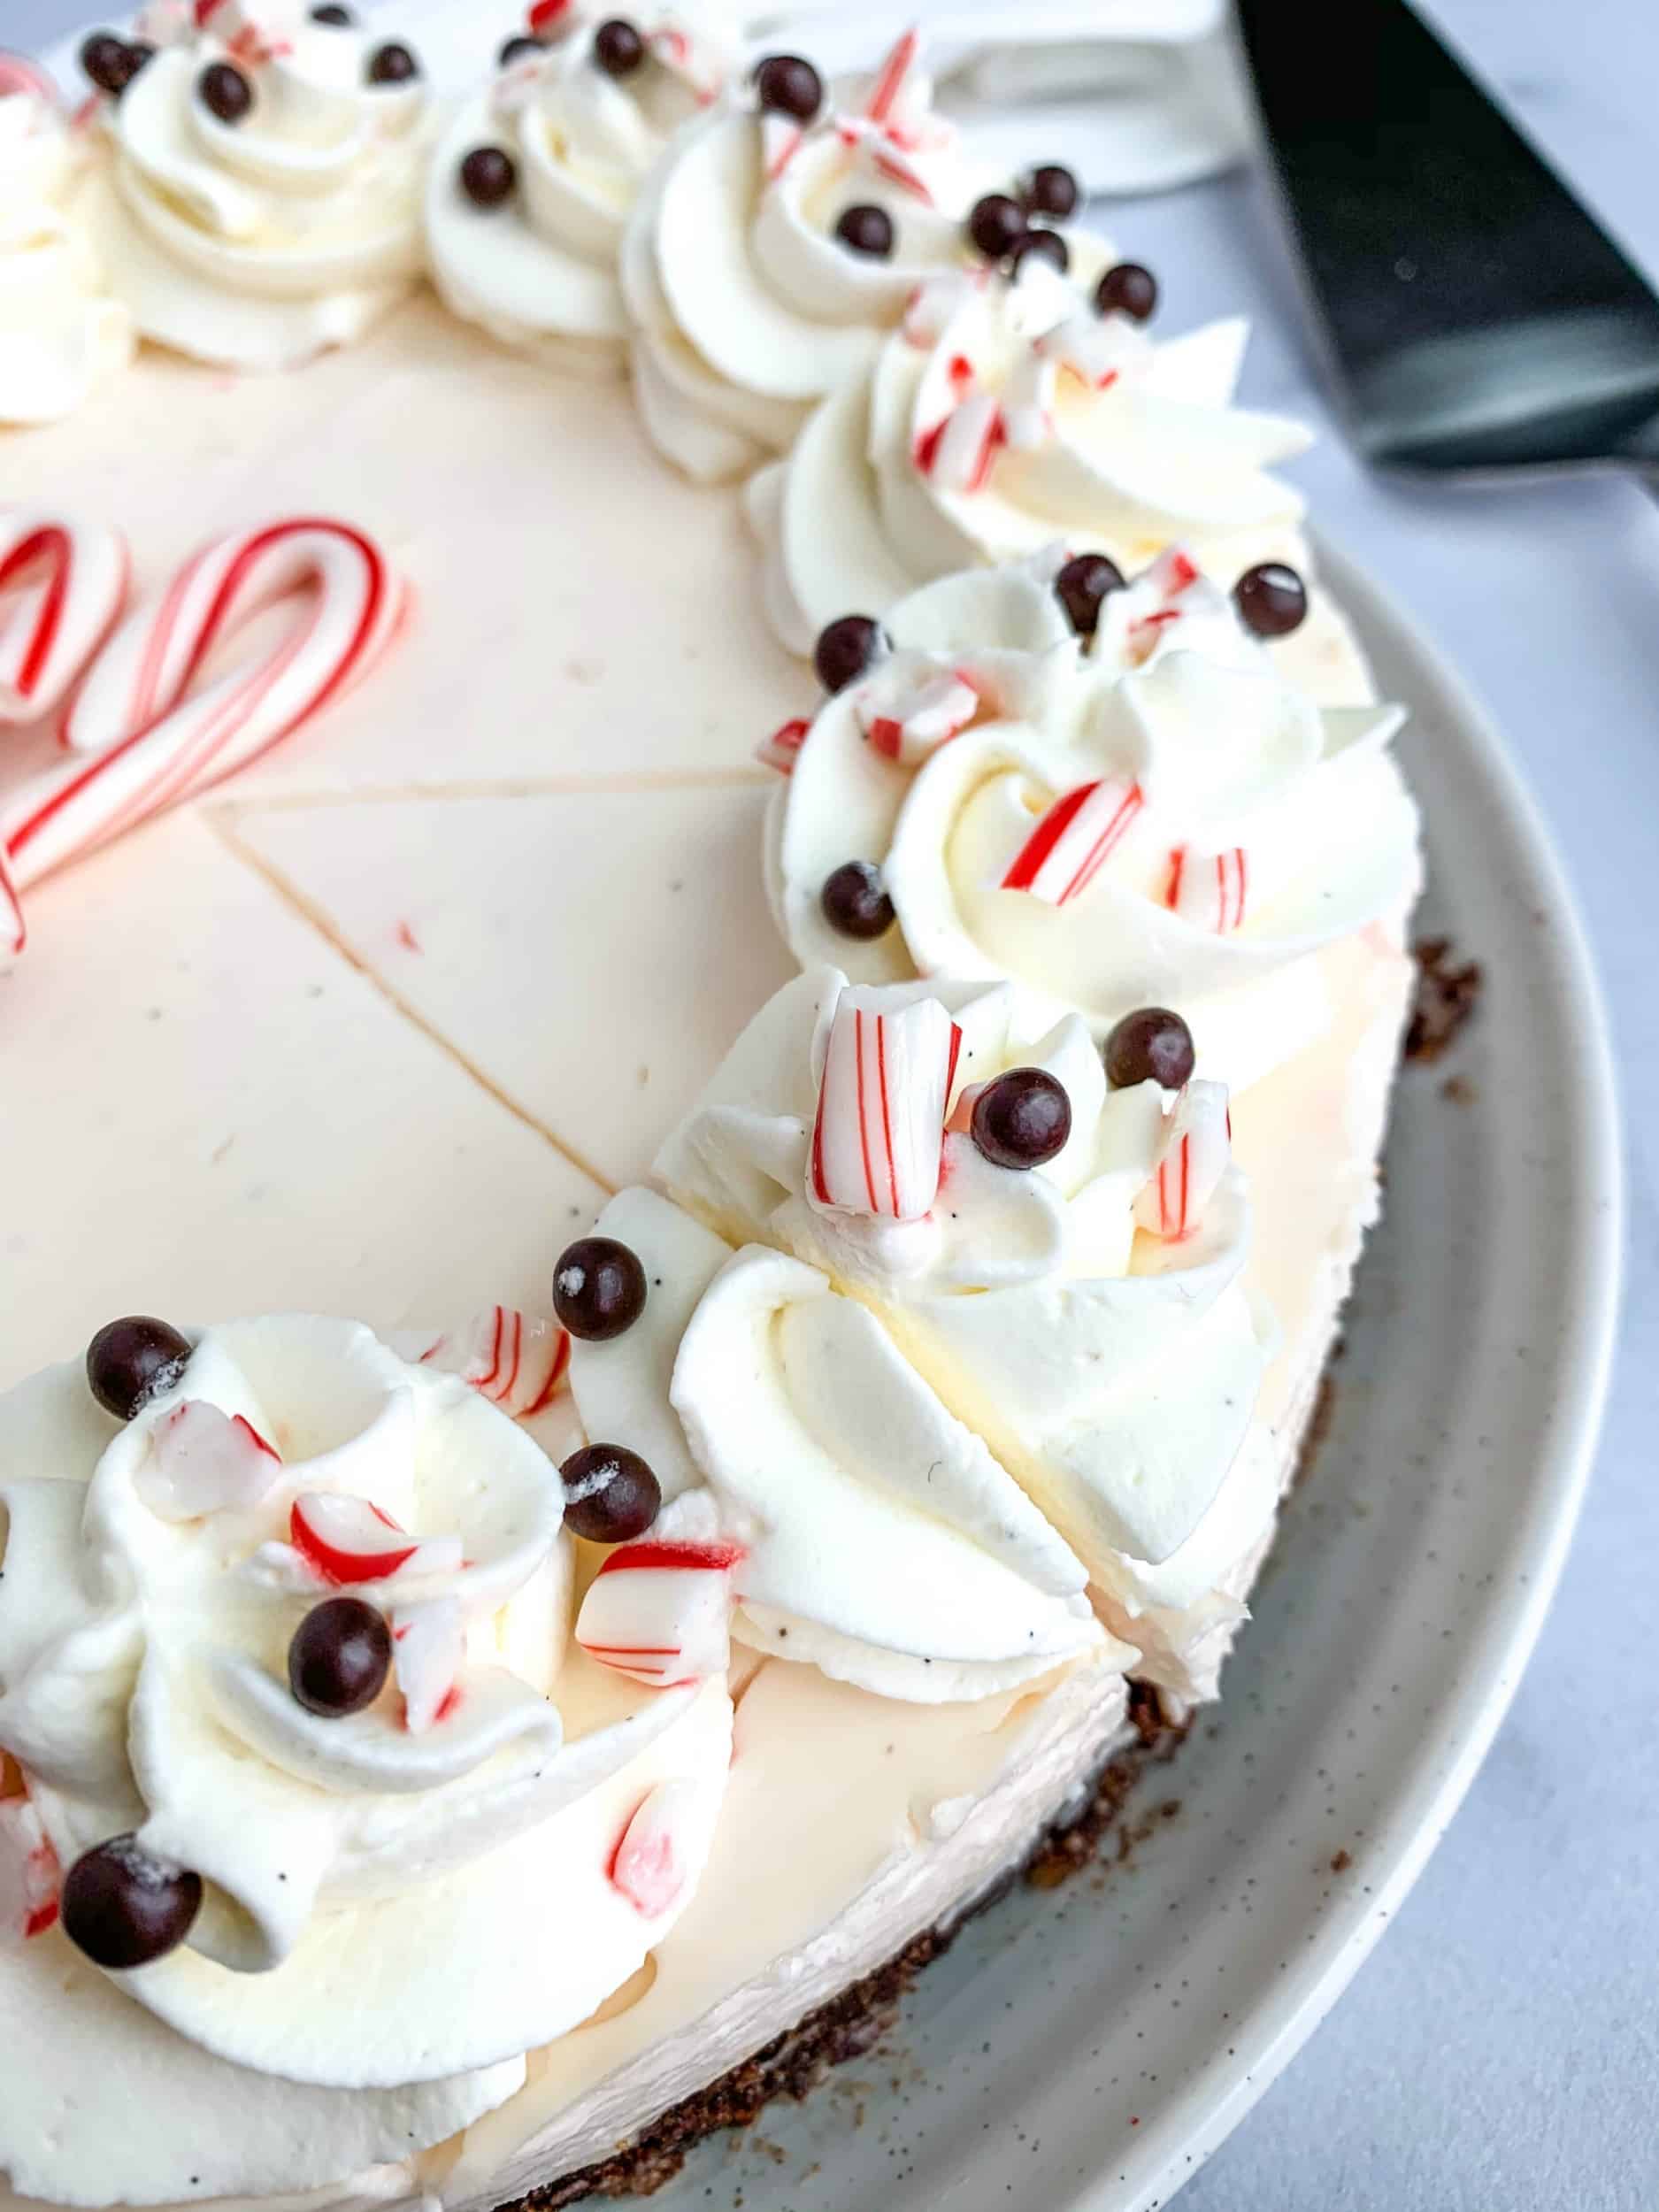
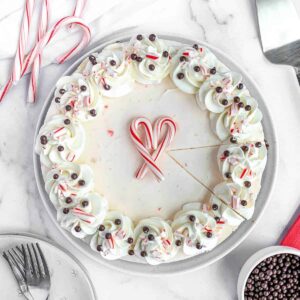
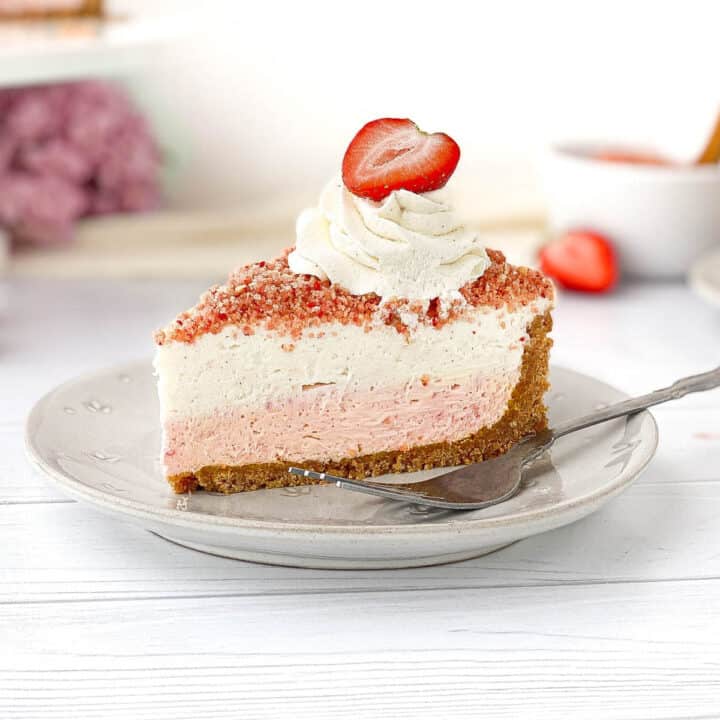
This Peppermint Brownie Cheesecake is a fudgy brownie crust with the creamiest no-bake peppermint cheescake! To top it all off: freshly whipped cream, more crushed candy canes, and some crisp chocolate pearls for good measure. 🙂
The brownie layer is as simple as can be. I do add some chocolate extract for added flavor! I highly recommend this (sometimes overlooked) extract! It lends amazing depth of flavor to chocolate baked goods! If you can't find it in your local grocery store, you can find some [here]. Even better, make yourself some [Homemade Chocolate Extract] for next time!
Once the brownie layer is completely cooled, you can go ahead with the cheesecake. I chose a no-bake cheesecake to accompany the brownie crust, so the cheesecake has a very light, creamy texture. I used conventional gelatin to help the cheesecake set up. If one of my vegetarian friends tries this with vegan gelatin, please let me know how it works out!
I added mint extract and crushed candy canes for flavor. I also like the pops of color that the candy canes provide. That said, be aware that the more you fold them in, the pinker your cheesecake will become! I added them last and folded sparingly. Now comes the hard part: the waiting! At least four hours in the fridge to ensure your cheesecake is set!
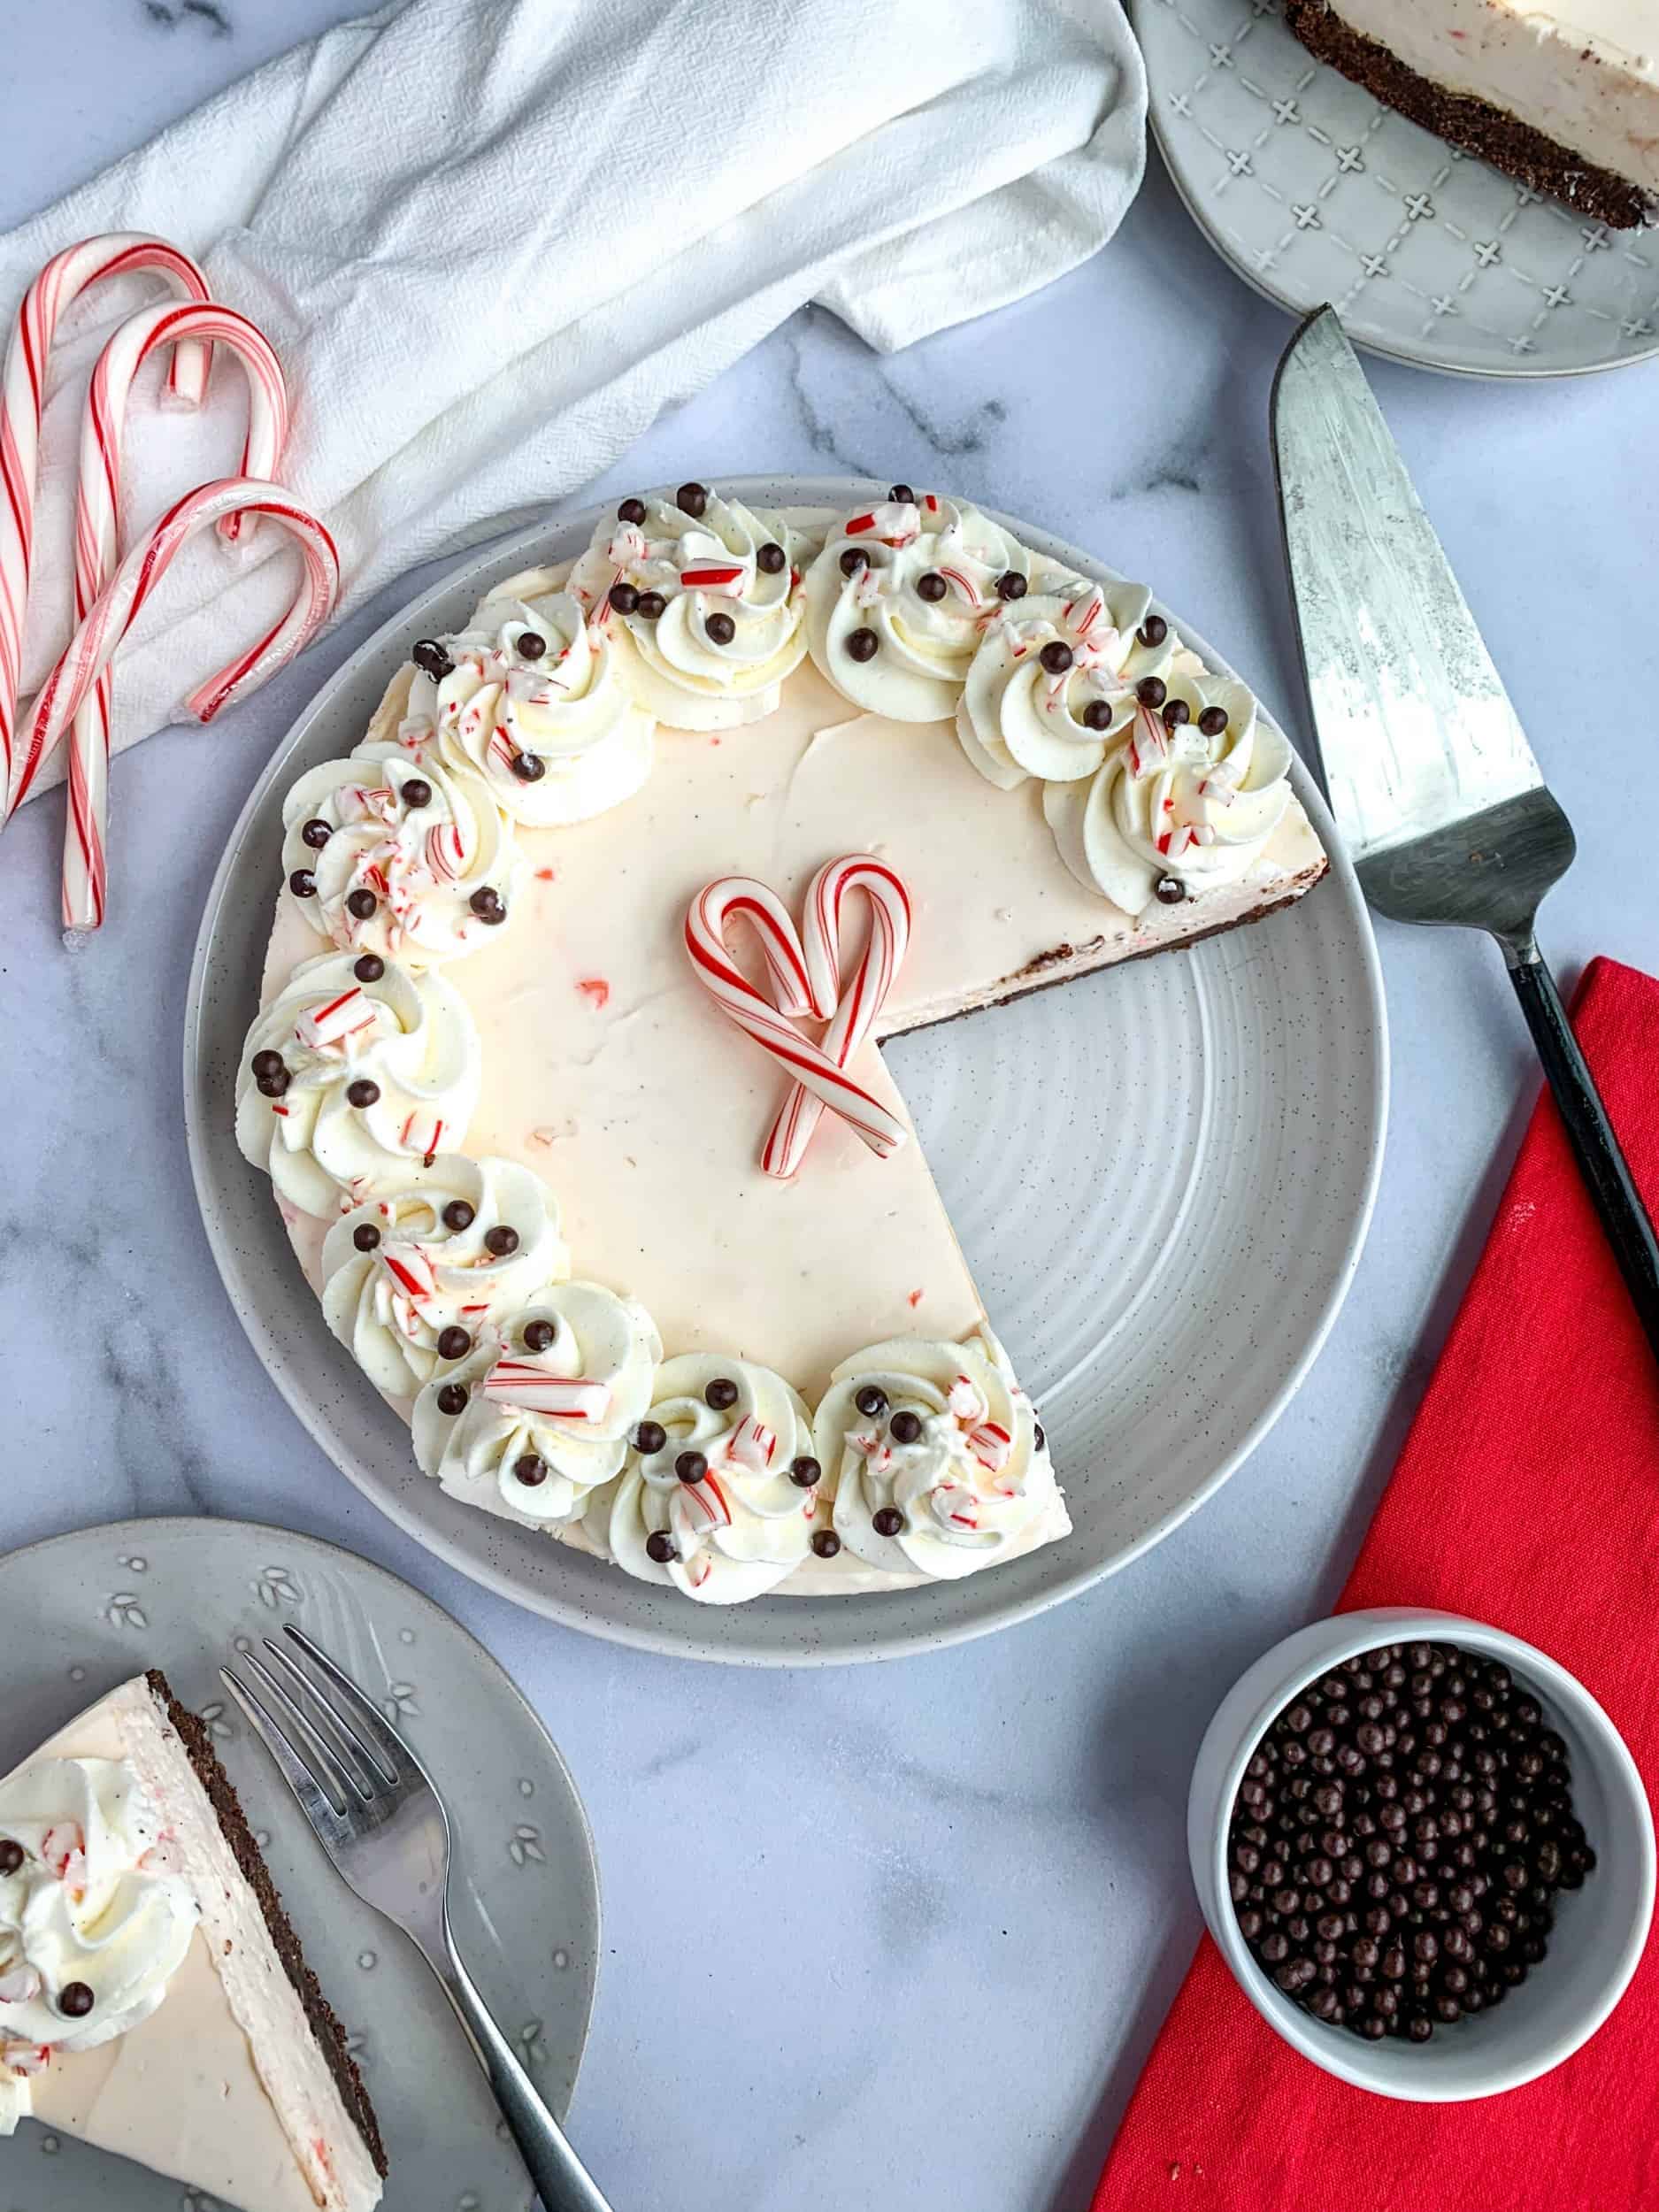
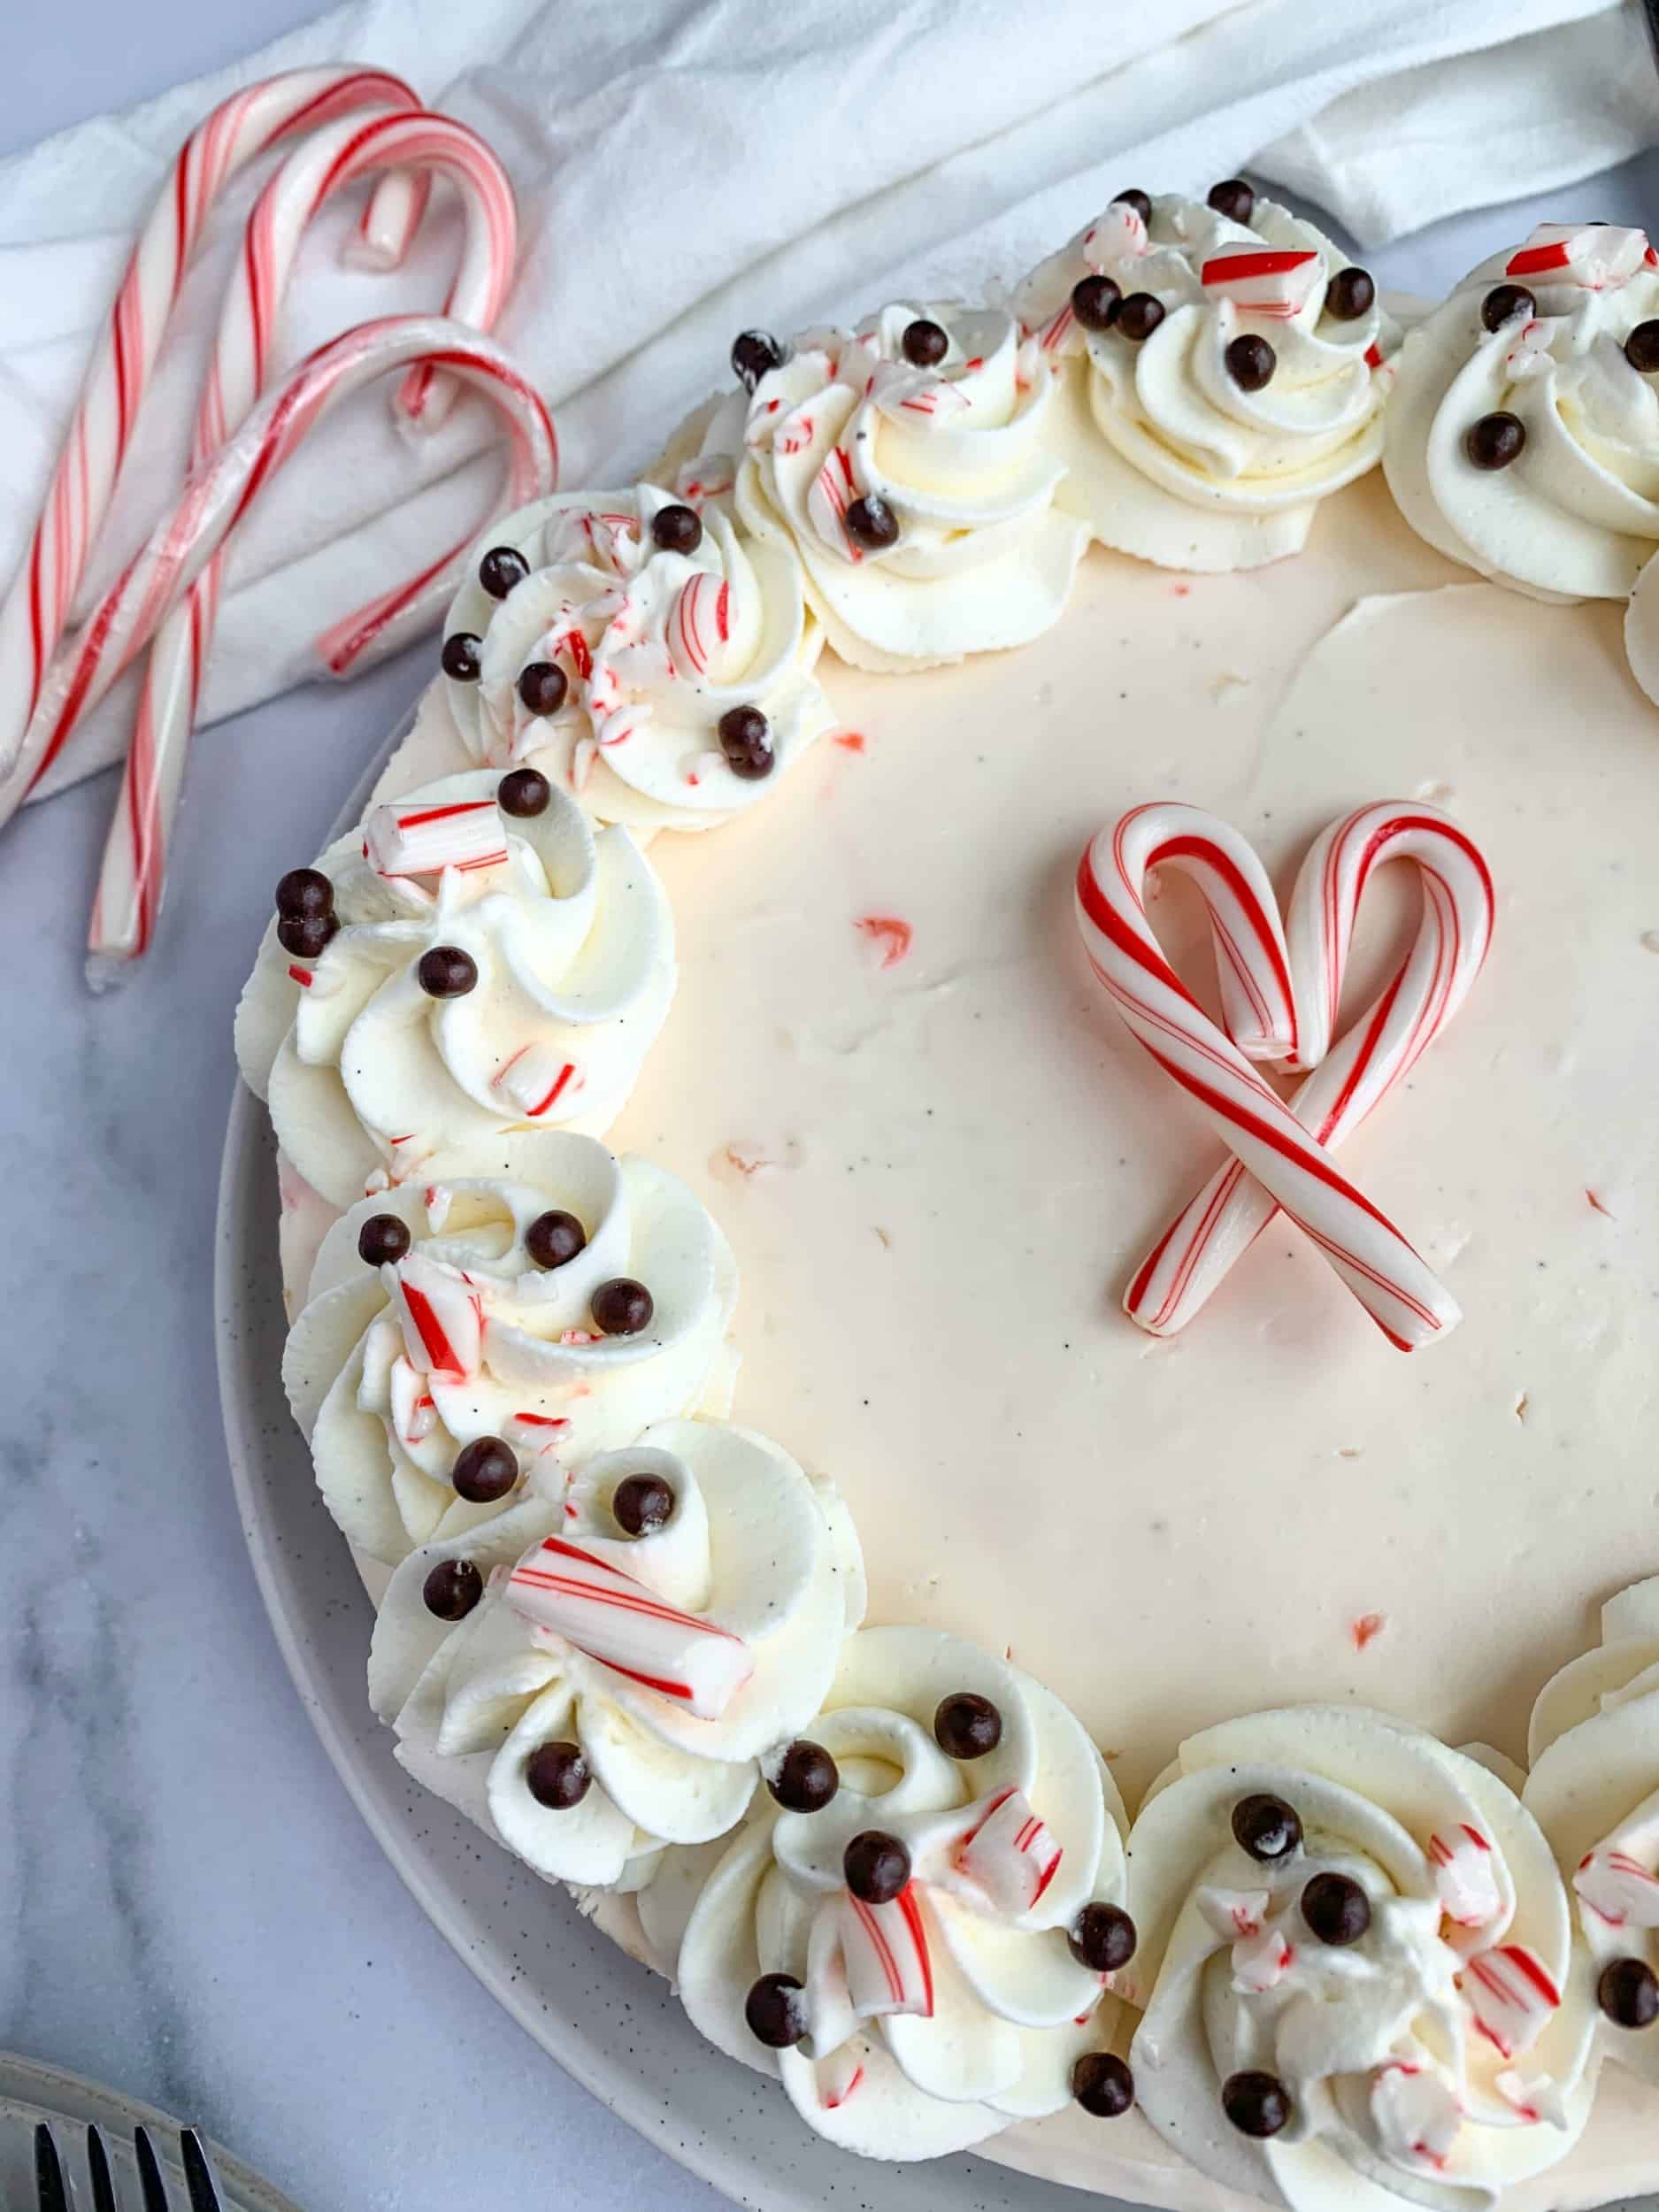
The best part (other than eating it, of course) is dressing this baby up. I love making sweets look festive, and it's even more fun during the holidays! After the cheesecake was set, I piped some freshly whipped cream on top. You know me, I just HAD to add vanilla bean paste for flavor. With so much delicious flavor in the brownie and cheesecake layers, I wanted the whipped cream to be delicious, too! You can find vanilla bean paste online [here]. If you prefer to substitute, you can use an equal measure of vanilla extract.
I hope that everyone is enjoying peppermint-and-gingerbread-everything season! I'll do my part to participate. 😉 😀
Other Recipes You May Like

Brownie recipe adapted from Cooking with Mamma C (link here).
Peppermint Brownie Cheesecake
Ingredients
Brownie Crust:
- 4 oz chocolate, chopped (I used 60% cacao)
- 4 tablespoon unsalted butter (½ stick)
- ¾ cup sugar
- pinch salt
- 1 egg
- ½ teaspoon vanilla extract
- ½ teaspoon chocolate extract (see note)
- ½ cup flour
Peppermint Cheesecake:
- 2 teaspoon powdered gelatin
- ¼ cup water
- 16 oz cream cheese, softened
- ¼ cup sugar
- 1½ teaspoon peppermint extract
- ⅔ cup heavy (whipping) cream
- ½ cup powdered sugar
- 2 tablespoon crushed candy canes (~5 mini candy canes)
Whipped Cream:
- ¾ cup heavy (whipping) cream
- 2 tablespoon powdered sugar
- ½ teaspoon vanilla bean paste (see note)
Garnish:
- crushed candy canes (I used 3 mini candy canes)
Instructions
For Crust:
- Preheat oven to 350° F. Grease a 9" springform pan. Set aside.
- In a large heatproof bowl, melt the chocolate and butter in the microwave on 30-seconds burst, stirring after each burst.
- Add sugar and salt. Stir to combine.
- Add eggs, vanilla extract, and chocolate extract (see note). Stir to combine. Add flour, and mix until just incorporated.
- Scrape the brownie batter into the prepared pan. Bake about 20 minutes, or until a toothpick inserted in the center comes out clean. Do not overbake! Allow brownie to cool completely.
For Cheesecake:
- In a small bowl, sprinkle gelatin in an even layer over the top of the water. Allow to set 5 minutes to soften.
- Once softened, place the juice/gelatin mixture in the microwave for about 10 seconds to warm, and stir until the gelatin is dissolved and the mixture is smooth. Set aside to cool to room temperature.
- In the bowl of a stand mixer, combine cream cheese and sugar. Beat until combined and smooth. Scrape down the sides of the bowl. Add gelatin mixture and peppermint extract and mix to combine. Scrape down the sides of the bowl again. Once fully incorporated, set aside.
- In another mixer bowl, use the whisk attachment to beat the cream and powdered sugar to soft peaks. Gently fold the whipped cream into the cream cheese mixture in three additions, being careful not to deflate the mixture.
- Gently fold in crushed candy canes. Avoid overmixing, as mixture could deflate, and mixing will cause the red color to run.
- Spread the cheesecake onto the cookie dough layer. Chill in the refrigerator at least 4 hours.
For Whipped Cream:
- Place cold heavy cream, powdered sugar, and vanilla bean paste (see note) in the bowl of a stand mixer. Start the mixer on low speed, and gradually increase the speed to high. Whip until the cream thickens and forms peaks.
- Spread or pipe the whipped cream on top of the cheesecake as desired. Sprinkle crushed candy canes over the top, if desired.Enjoy!
Notes
Nutrition Estimate
Nutrition information is provided as a courtesy and is only an estimate.


Stacey
So love the brownie crust. It was a hit at my work holiday party!
Amee
Oh yay, so glad it was a hit! Thanks so much for your review, Stacey!