
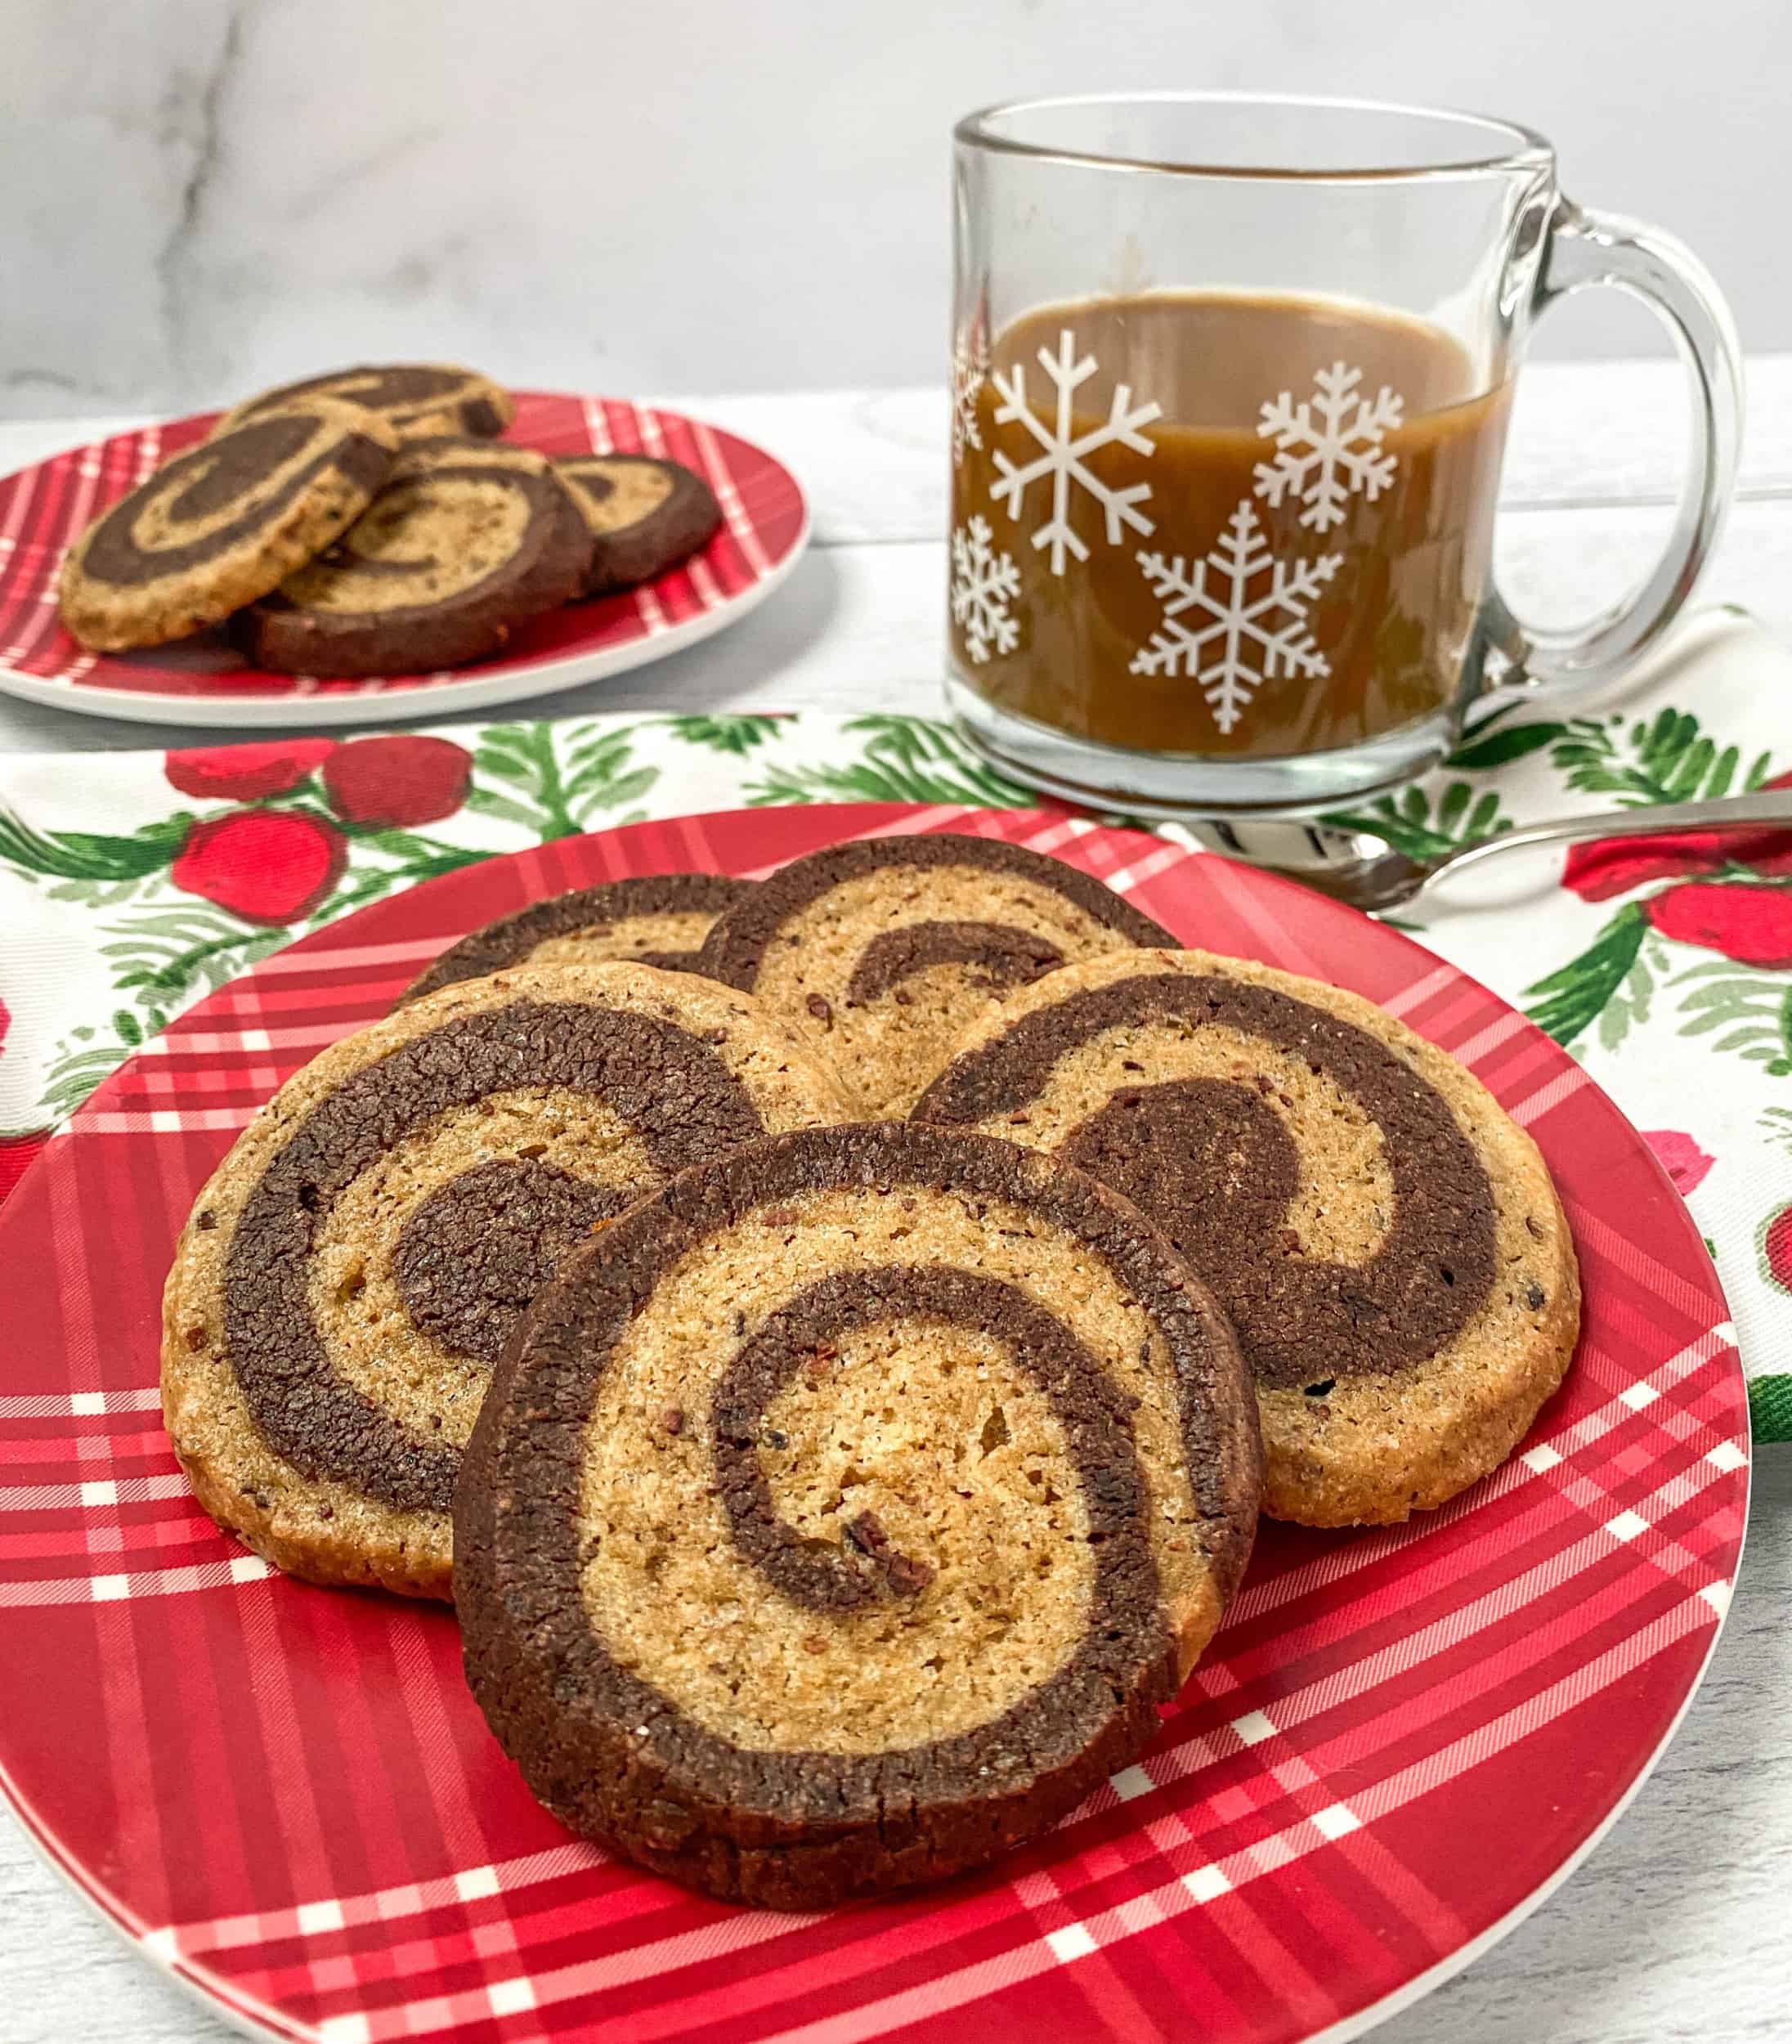
You've probably noticed by now that coffee + chocolate is my jam. I'm a big fan of this flavor combo (as you can no doubt tell with a quick search of this site). So when I was looking at all the flavors on my list of Christmas cookies and saw ZERO coffee/espresso anything, I was shocked! How could I not? As such, these Mocha Swirl Cookies were born, and added to the list!
This post may contain affiliate links, and as an Amazon Associate I earn from qualifying purchases. I’ll never link to anything I don’t use and love! Click here for full disclosure and privacy policy.
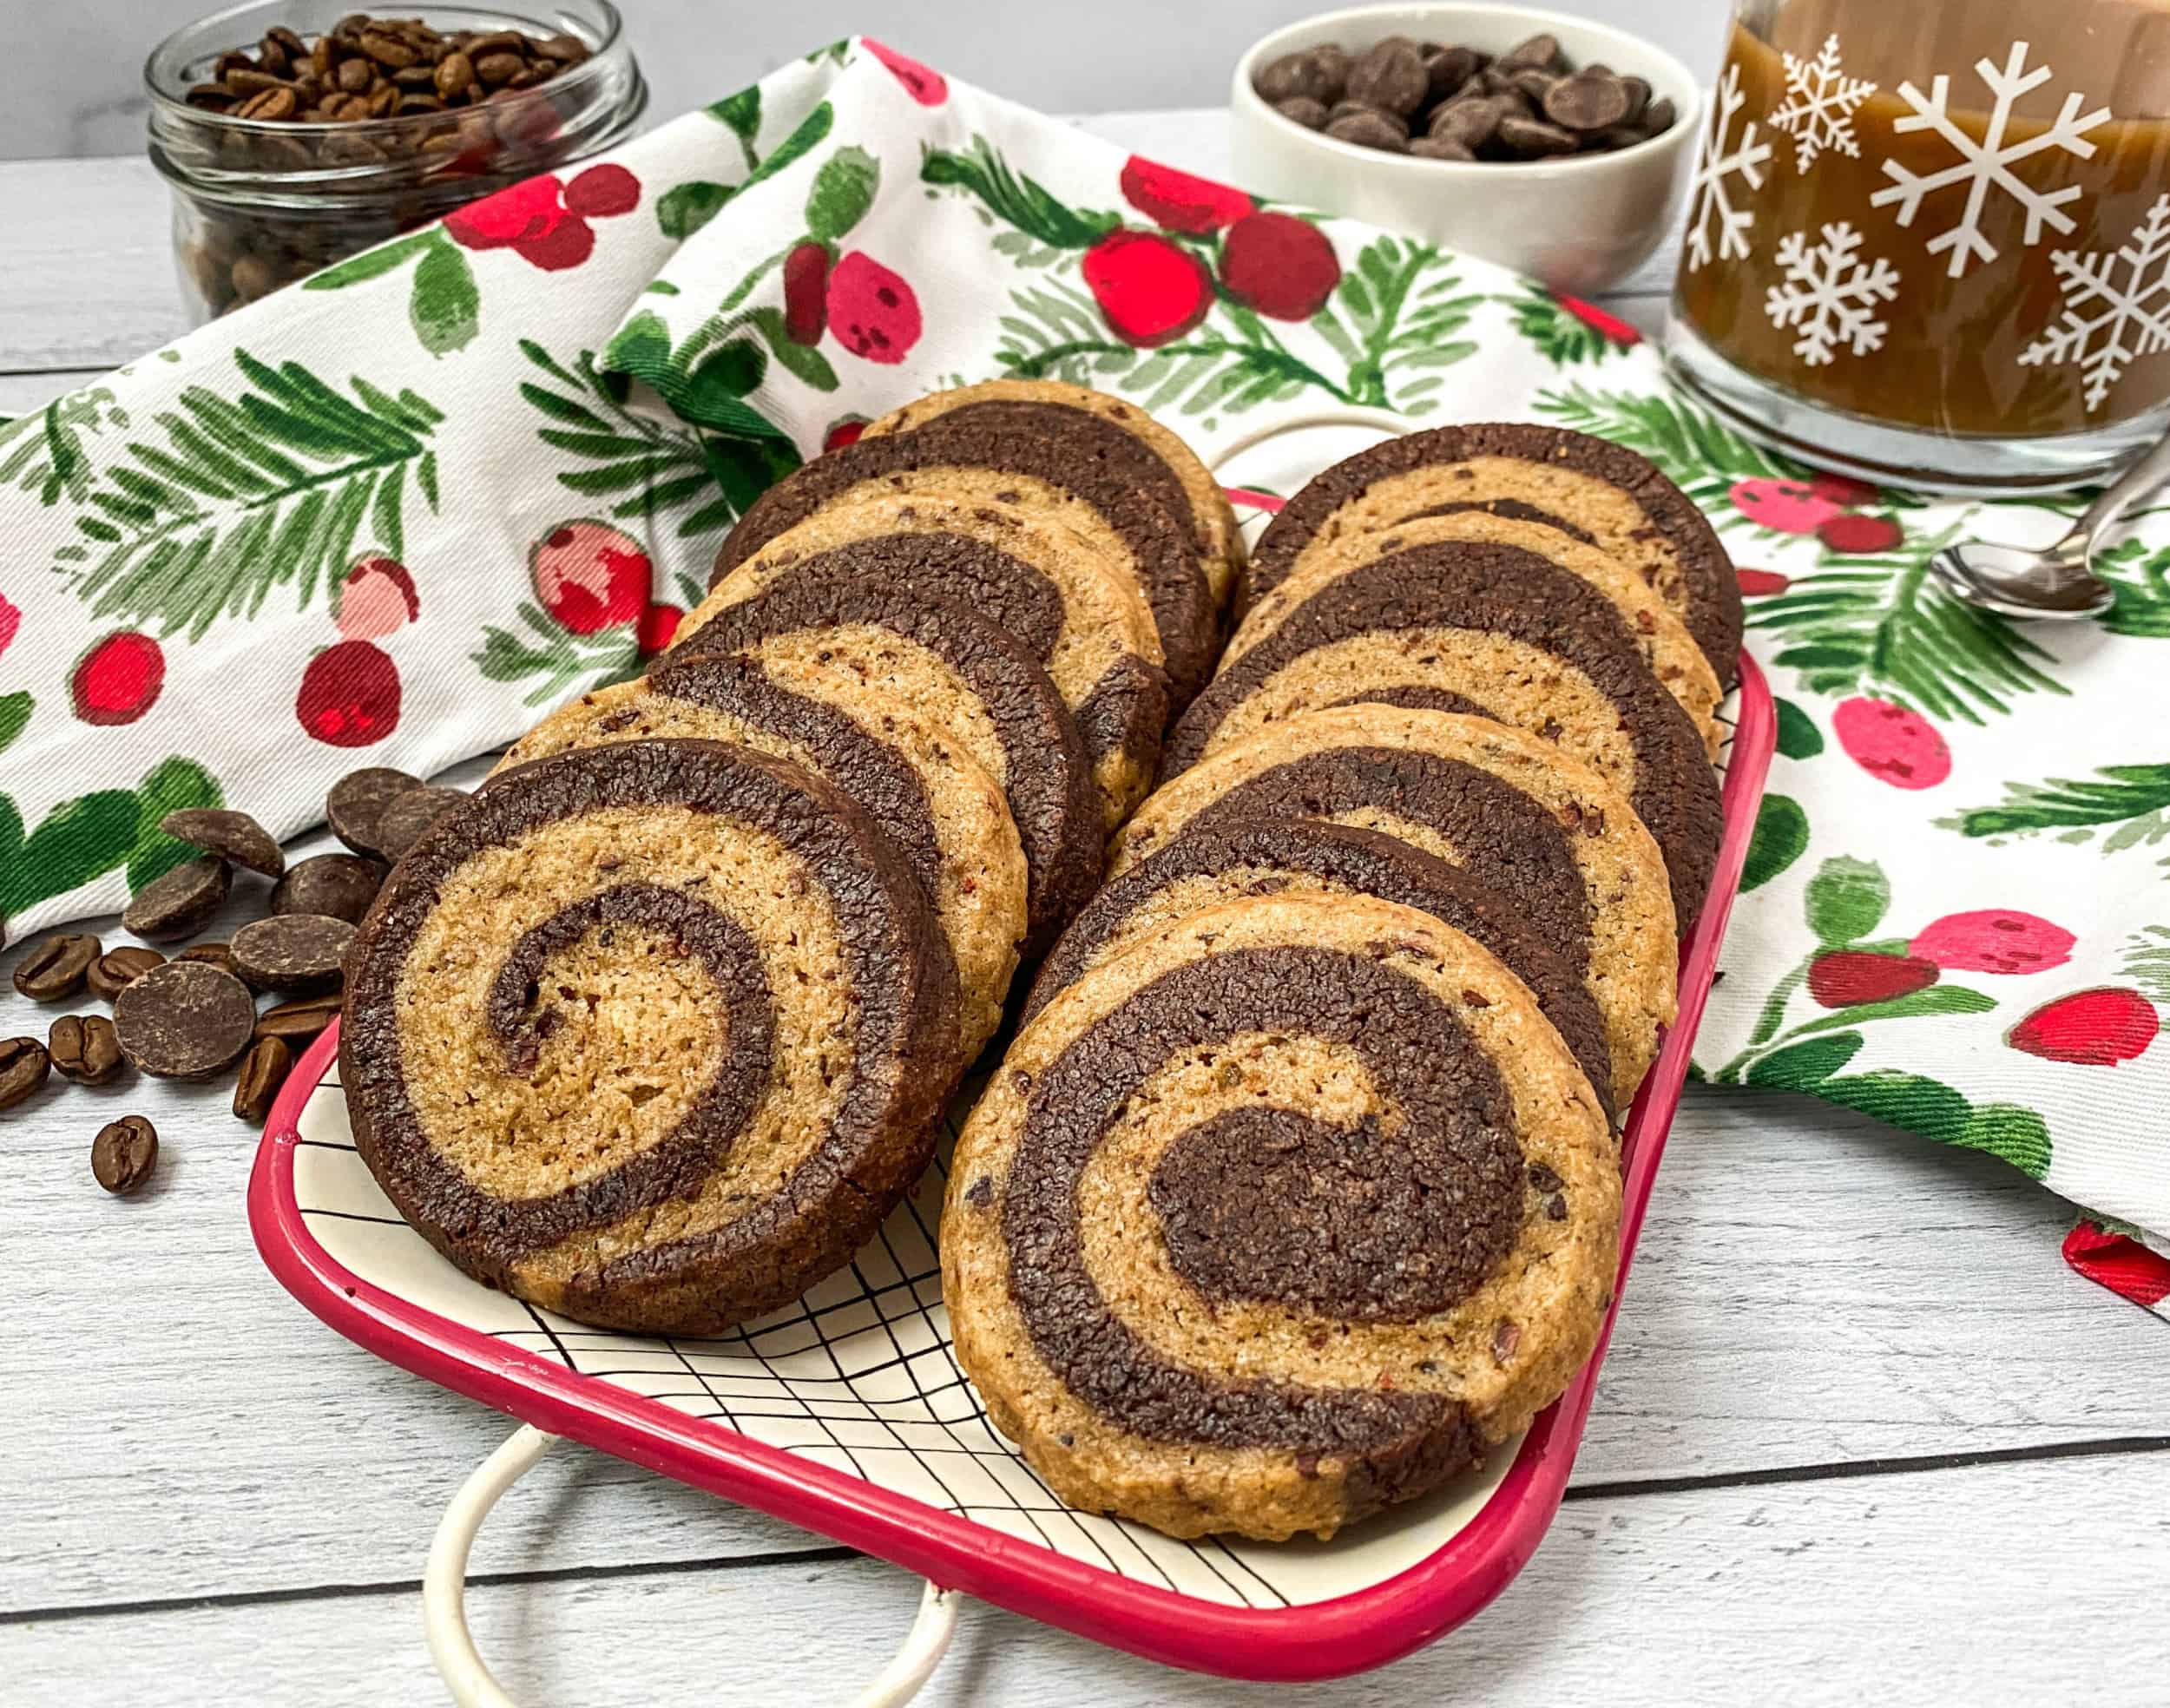
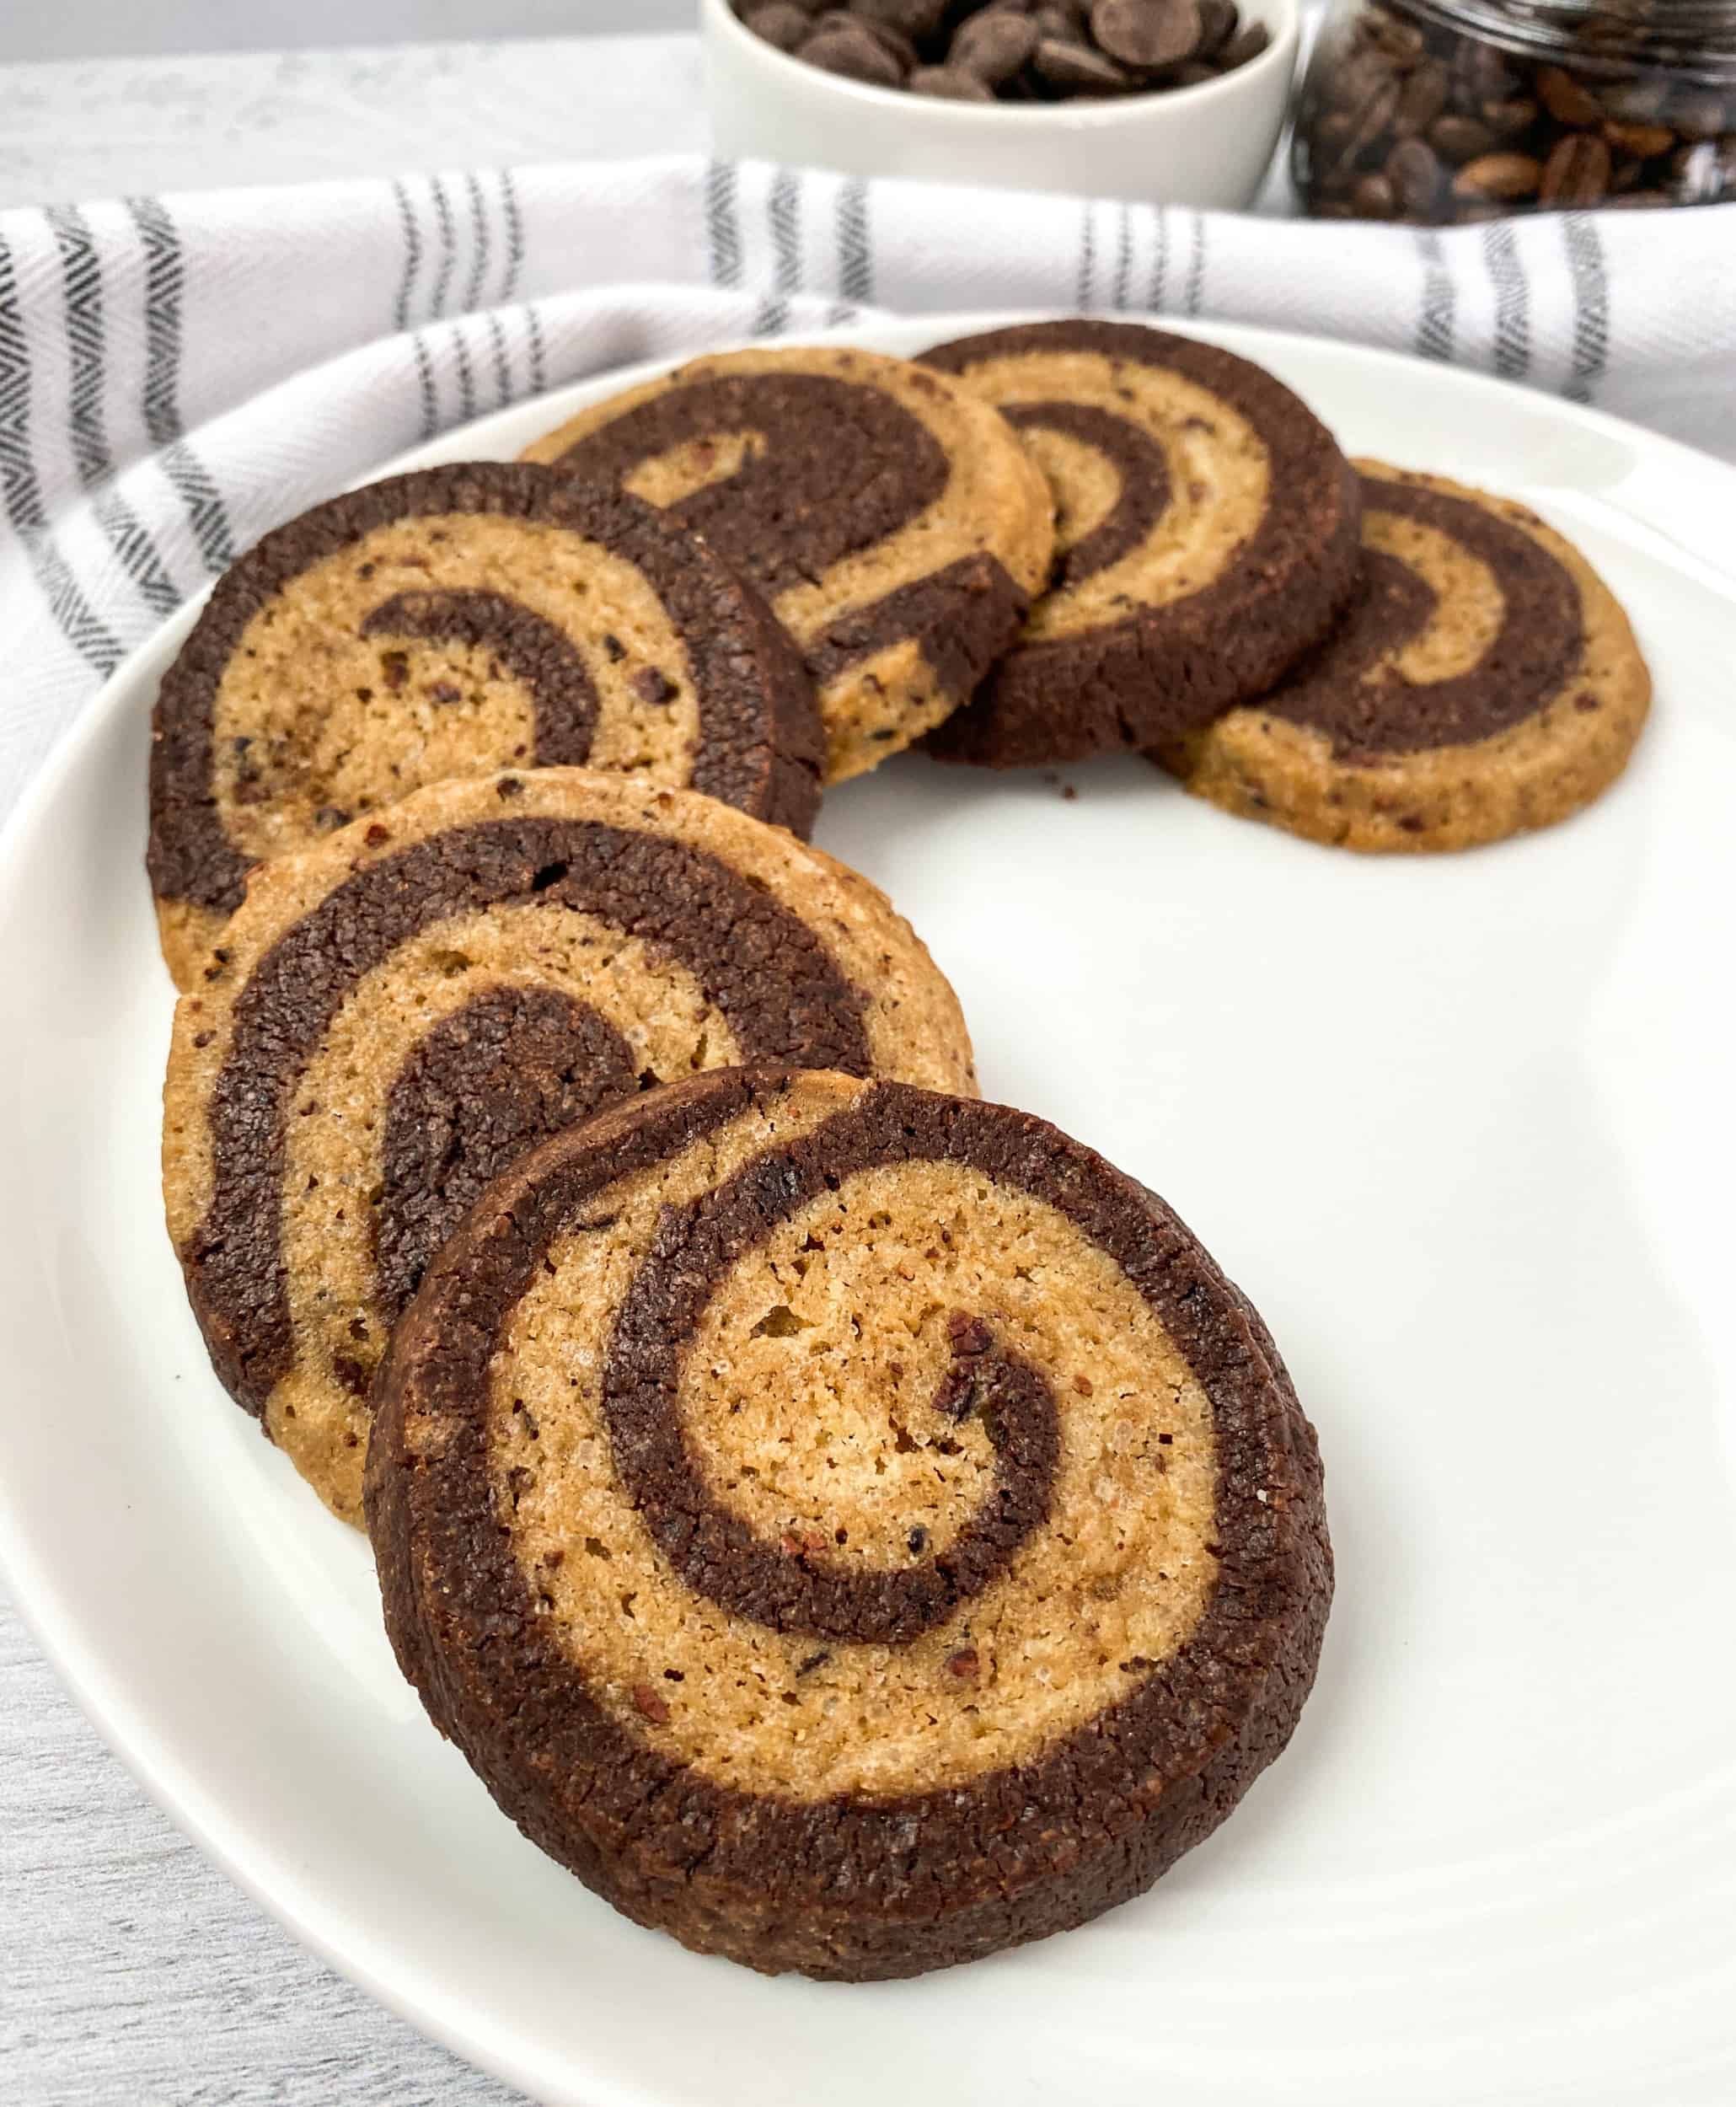
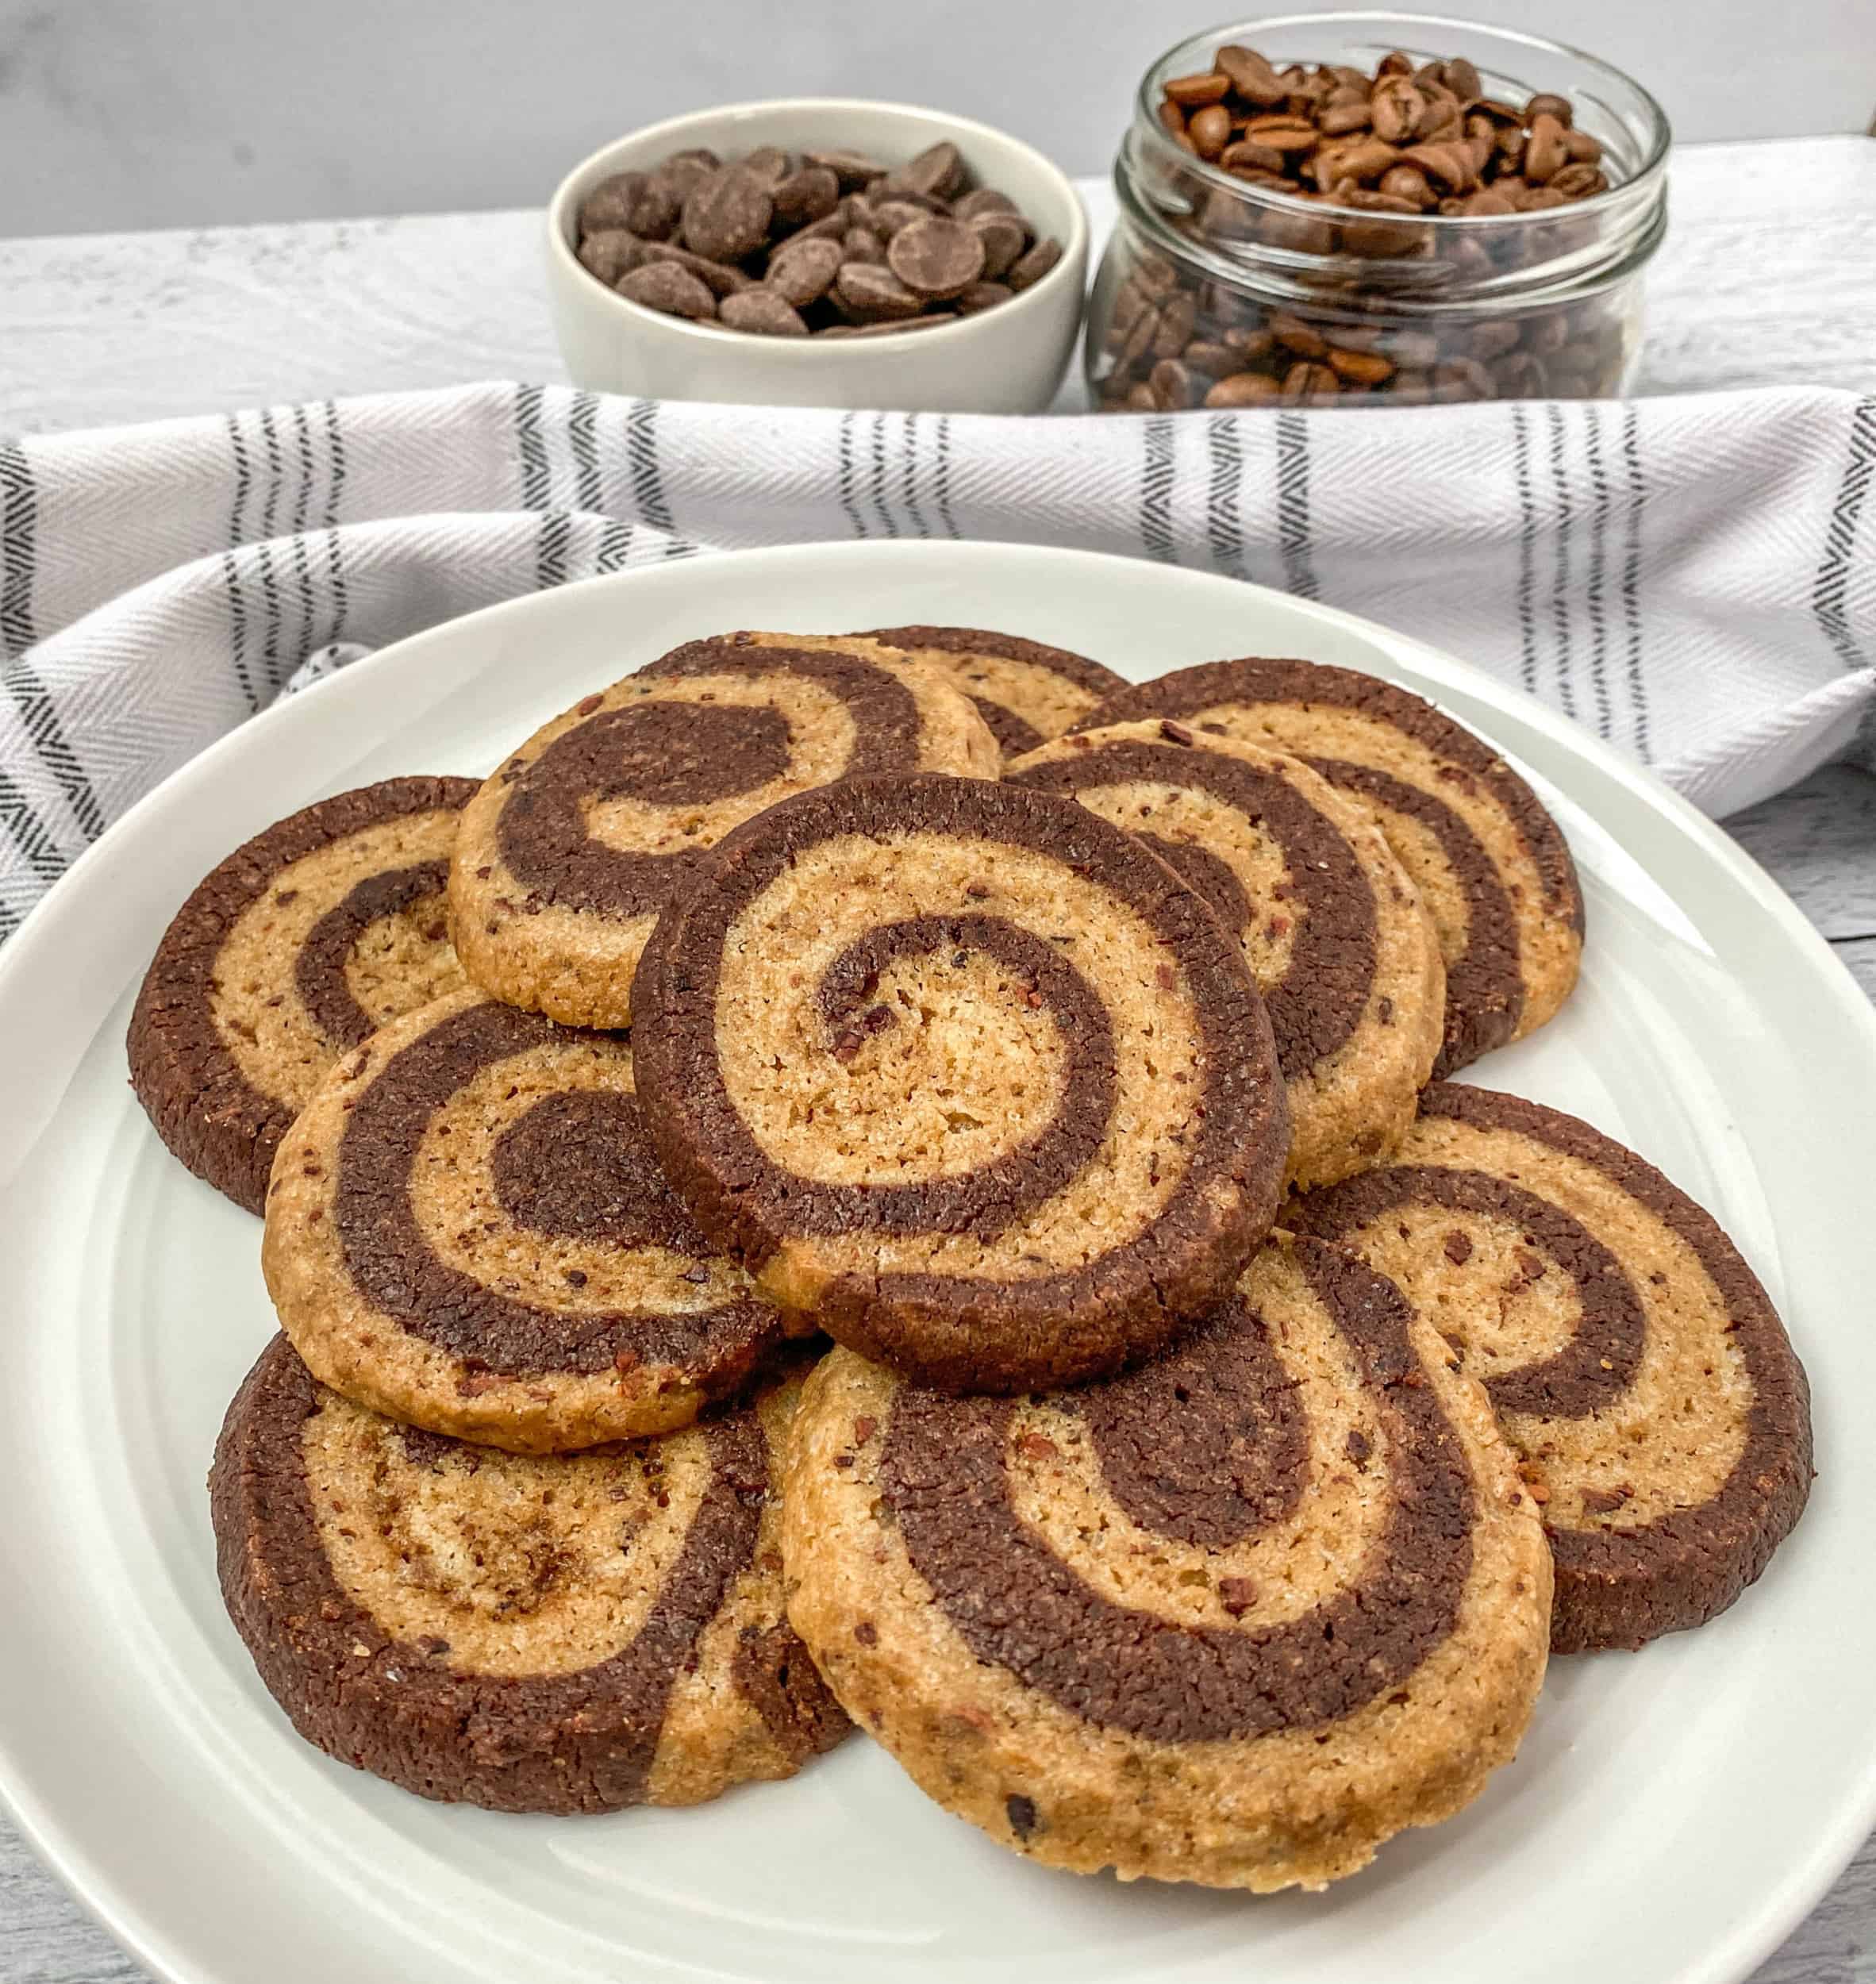
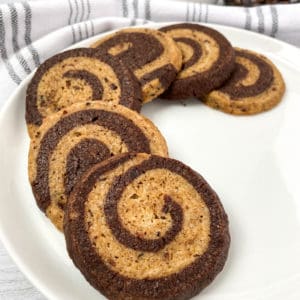
These Mocha Swirl Cookies have both chocolate and espresso-cocoa nib doughs swirled together for a not-too-sweet treat! The crisp-chewy texture of the cookies and the slight crunch of the cocoa nibs also play very nicely together. 🙂
If you enjoy this recipe, check out the posts for my Hazelnut Espresso Truffles, 10+ Coffee Desserts, and 25+ Christmas Cookies!
I tried--REALLY tried--to write up the recipe instructions to be as straightforward as possible, but there's a lot of portioning and combining and chilling in there. Dividing the dough into smaller portions makes assembling/rolling the dough much more reasonable. A kitchen scale helps to ensure that you've divided the dough into equal portions, which will help you have more even swirls.
There are a few ingredients that you might not already have in your pantry:
- Chocolate extract lends amazing flavor to chocolate baked goods! You may have to look online to find it, or even better, make yourself some Homemade Chocolate Extract for next time!
- I’ve found it difficult to find espresso powder, especially one that’s fine in texture and isn’t already as hard as a rock. I use King Arthur Baking’s brand, as it’s very fine and made specifically for baked goods.
- I really like the added chocolate flavor notes and subtle crunch from the cocoa nibs! Pro tip: If you're looking to add a little extra sweetness, you could always use ground chocolate-covered espresso beans instead!
I like lining my pans with silpats because they can be used over and over again and the cookies brown more slowly. If you line your pans with parchment paper, just keep in mind that they may be done a little quicker than mine were!
Now that these Mocha Swirl Cookies are a thing, I think they'll be a regular fixture on future Christmas cookie lists! <3
Other Recipes You May Like


Mocha Swirl Cookies
Ingredients
For Base Cookie Dough:
- 3 cups flour
- ¼ teaspoon baking soda
- ¼ teaspoon salt
- 1¼ cups unsalted butter, softened (2½ sticks)
- 1¼ cups sugar
- 1 egg
- 1½ teaspoon vanilla extract
For Espresso-Cocoa Nib Dough:
- 1 tablespoon hot water
- 2 teaspoon espresso powder (see note)
- ¼ cup cocoa nibs, chopped fine in a food processor (measure ¼ cup nibs first, then process)
For Chocolate Dough:
- 3 oz bittersweet chocolate, melted & still warm (I used 60% cacao)
- 3 tablespoon dutch-processed cocoa powder
- 1 teaspoon chocolate extract (see note)
Instructions
Make the Base Dough:
- In a medium bowl, combine dry ingredients (flour, baking soda, and salt) and set aside.
- In the bowl of a stand mixer, combine butter and sugar until light and fluffy, scraping down the sides of the bowl as necessary. Add egg and vanilla extract and mix to combine.
- Add dry ingredients in two additions, mixing just until incorporated. Remove half the dough from the bowl and set aside. A kitchen scale (see note) helps to ensure that you've divided the dough in half, which will help you have more even swirls. That said, half the dough will be just shy of two cups.
For Espresso-Cocoa Nib Dough:
- Dissolve the espresso powder (see note) in the hot water. Add the espresso mixture and the finely-processed cocoa nibs to the first half of the dough and mix to combine. Remove dough from the bowl, scraping away as much dough as possible from the sides of the bowl before proceeding.
For Chocolate Dough:
- Place the second half of the dough into the mixer bowl and add melted chocolate, cocoa, and chocolate extract (see note). Mix just until combined.
Assemble:
- Portion each flavor of dough into three pieces of equal size. Again, a kitchen scale is handy for this step. You will have three portions of each flavor (6 portions in all).
- Place each portion of dough between two pieces of parchment paper and roll into a square about 7"x7" in size (you will have six squares total). Layer the rolled-out dough (still in-between parchment) on a baking sheet and refrigerate 10-15 minutes.
- After chilling, layer one espresso and one chocolate dough. Gently run a rolling pin over the top to seal the layers together a bit. Set aside and repeat with the remaining dough portions. You can alternate which dough is on top to have different-looking cookies! When complete, you will have three portions of dough, each with two layers.
- Roll up each portion of dough so that you have three rolled doughs. Wrap in plastic and refrigerate for about three hours (or wrap in foil and freeze for up to three months!)
Slice and Bake:
- After chilling again, preheat oven to 350° F. Line baking sheets with silpats (see note) or parchment and set aside.
- Cut dough into ¼" rounds with a thin, serrated knife (I find that a bread knife works well) and place on the prepared baking sheets about 1" apart. Bake until the tops of the cookies are set, about 11-13 minutes. Let stand on the pan for a few minutes before removing to a wire rack to cool completely.Enjoy!
Notes
Nutrition Estimate
Nutrition information is provided as a courtesy and is only an estimate.


Monica
One of my favorite flavors! Love that they are both crispy and chewy!
Amee
Mine, too! So glad you enjoyed the recipe, and thanks so much for your review, Monica!
Martha
I was not prepared for the amount of work to make this recipe or how absolutely fantastic they are lol. So worth it!
Amee
Haha I understand! So happy that they were worth the effort! Thanks so much for your review, Martha!
Jody
I dont have or want to use cocoa nibs. I thought finely chopped hazelnuts would make a good substitute. What do u think?
Amee
Hi, Jody! I think that would work, and would be delicious!